Django
 This guide deploys a Django application to ComputeSphere.
info
We use a pre-built ComputeSphere container image in this guide.
Prerequisites
- A ComputeSphere account.
- Docker and Docker registry repository - If using your own Docker image.
- ComputeSphere API Token - Follow the steps here to get your account API token.
Step 1: Setting Up the Project
Use a Pre-built Image
You can use our pre-built Docker image on the ComputeSphere registry. Here's the image tag that we'll use.
quay.io/computesphere/computesphere-django-example:latest
Use Your Docker Image
These steps guide you in creating an image based on our project example.
- Clone the project example:
git clone https://github.com/computesphere-samples/computesphere-django-example.git
- Create the Docker image:
docker build -t computesphere-django-example:v0.0.1 .
- Tag and Push the Docker image:
docker tag computesphere-django-example:v0.0.1 [REPOSITORY]/computesphere-django-example:v0.0.1

docker push [REPOSITORY]/computesphere-django-example:v0.0.1
info
Replace [REPOSITORY] with the name of your image registry repository.
Step 2: Create a Project
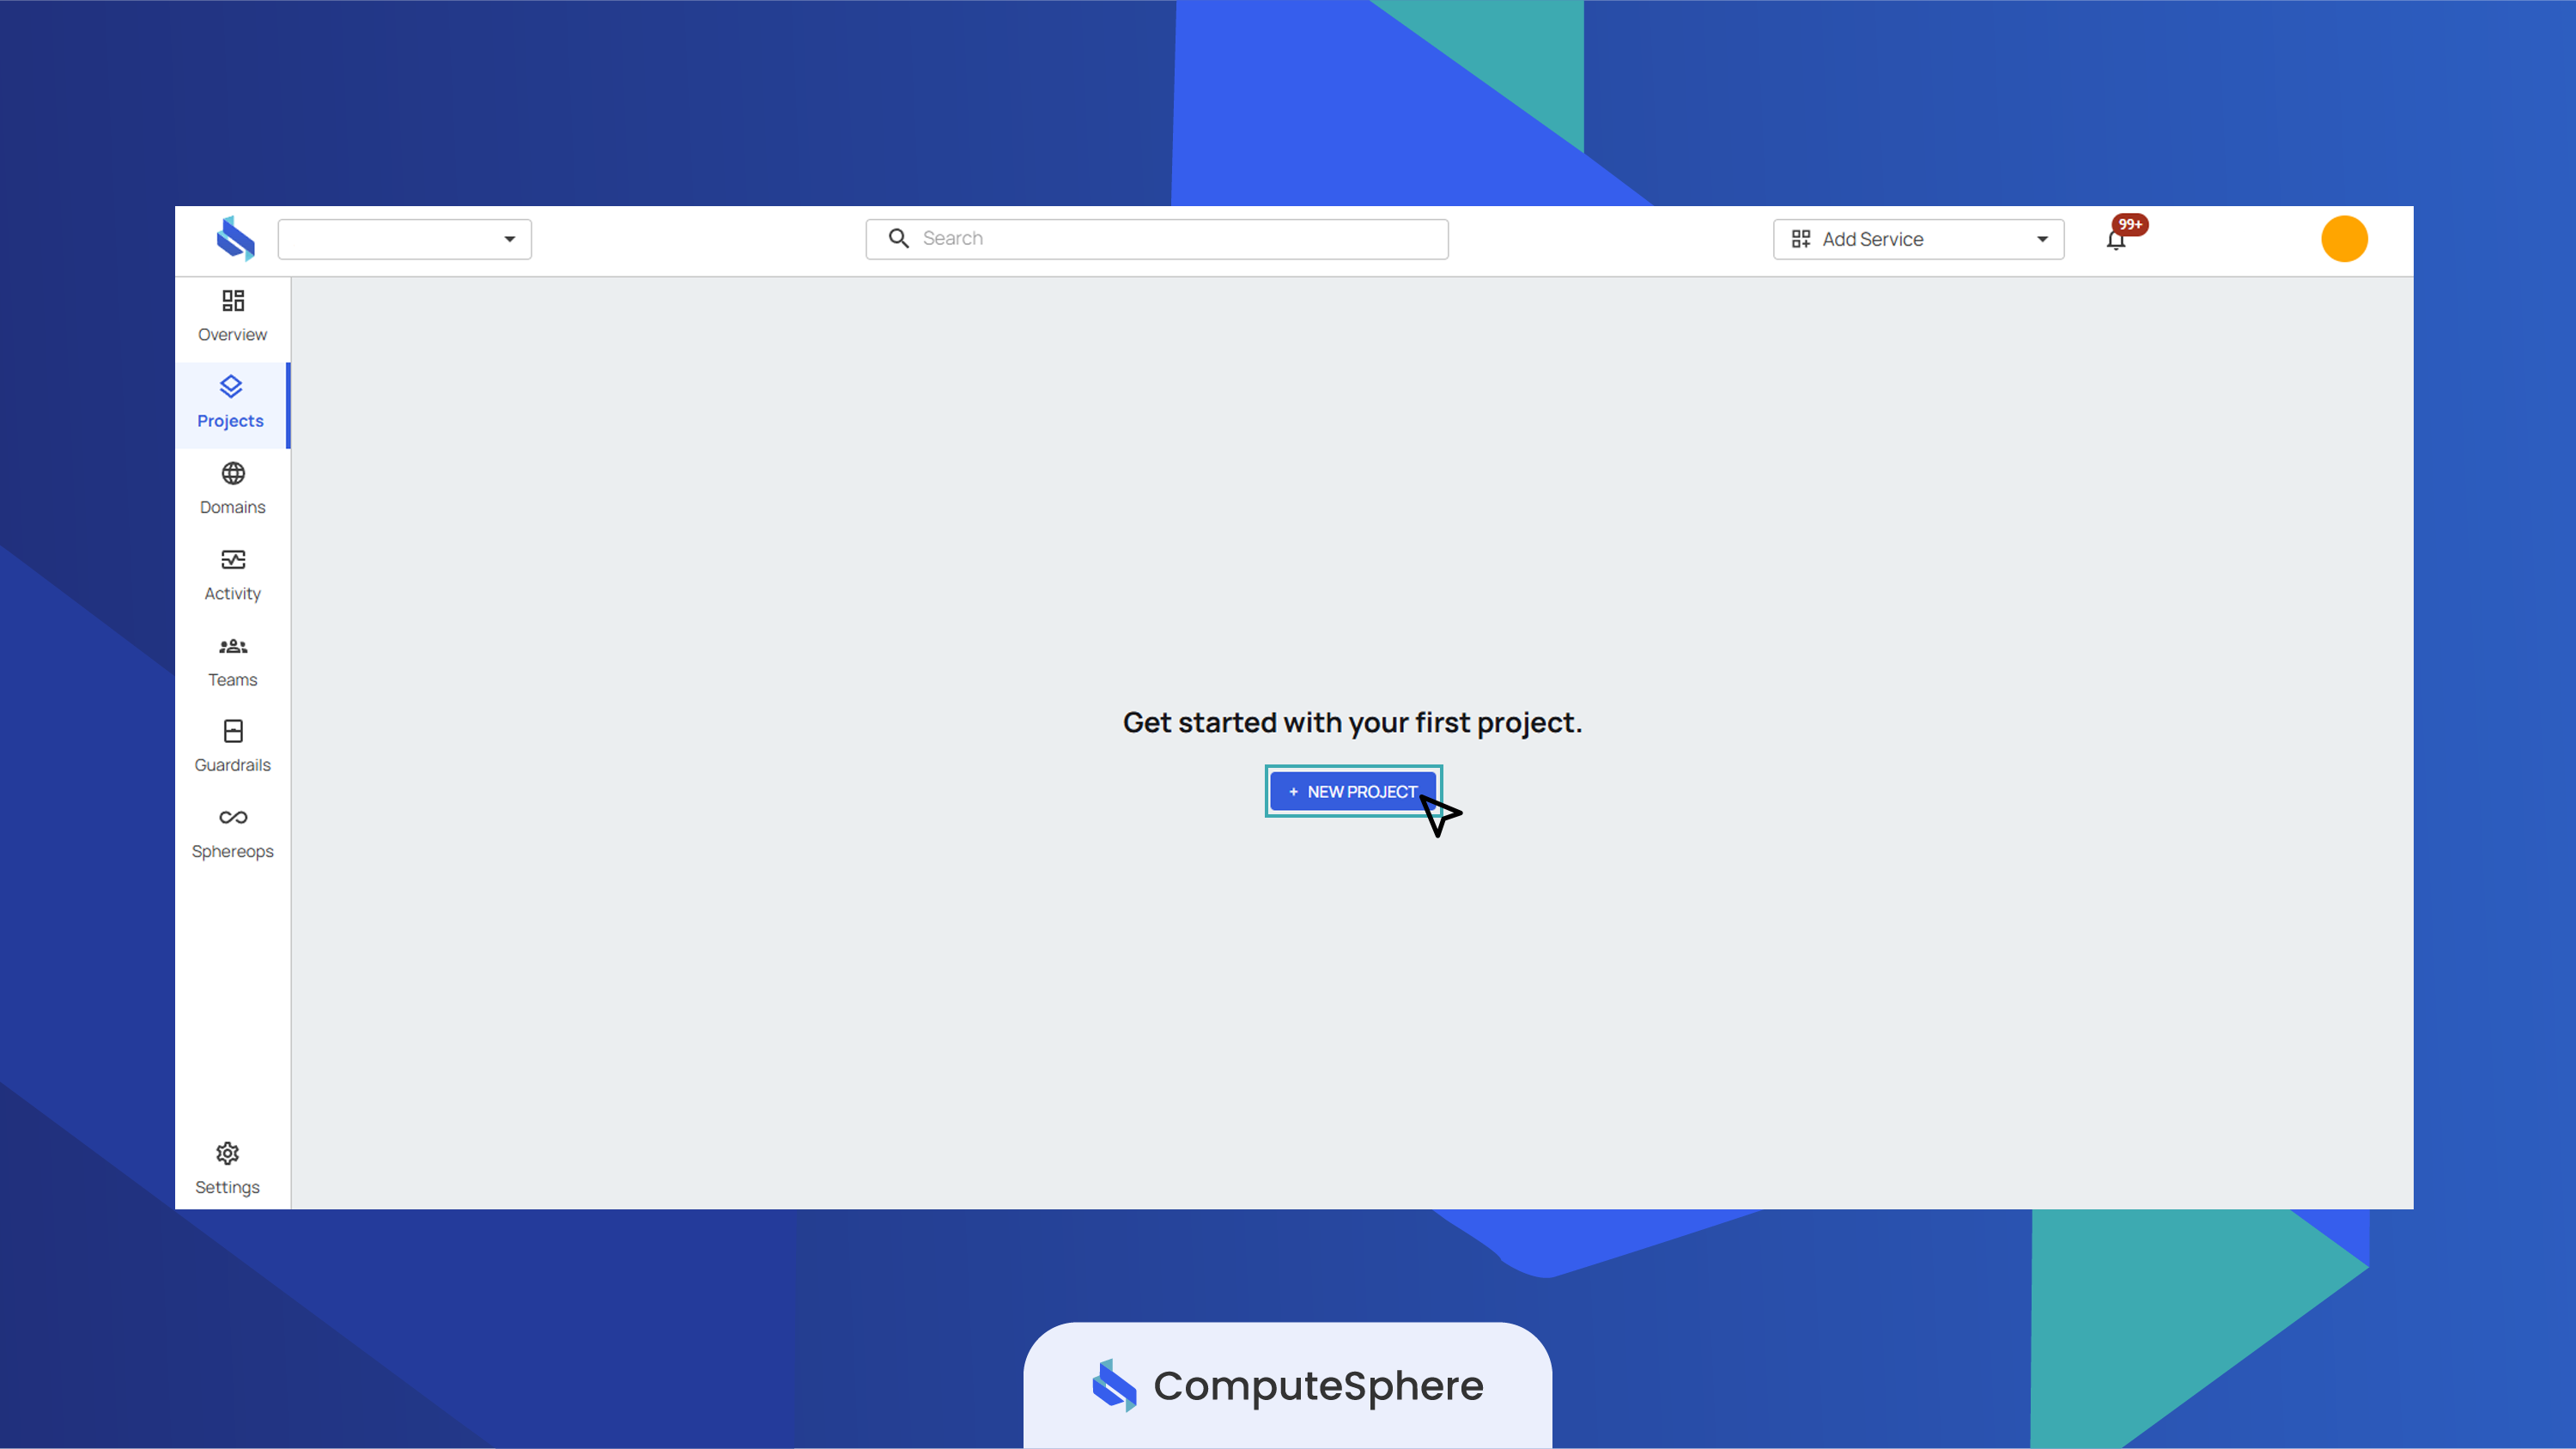
- Login to your ComputeSphere console → click on New Project.
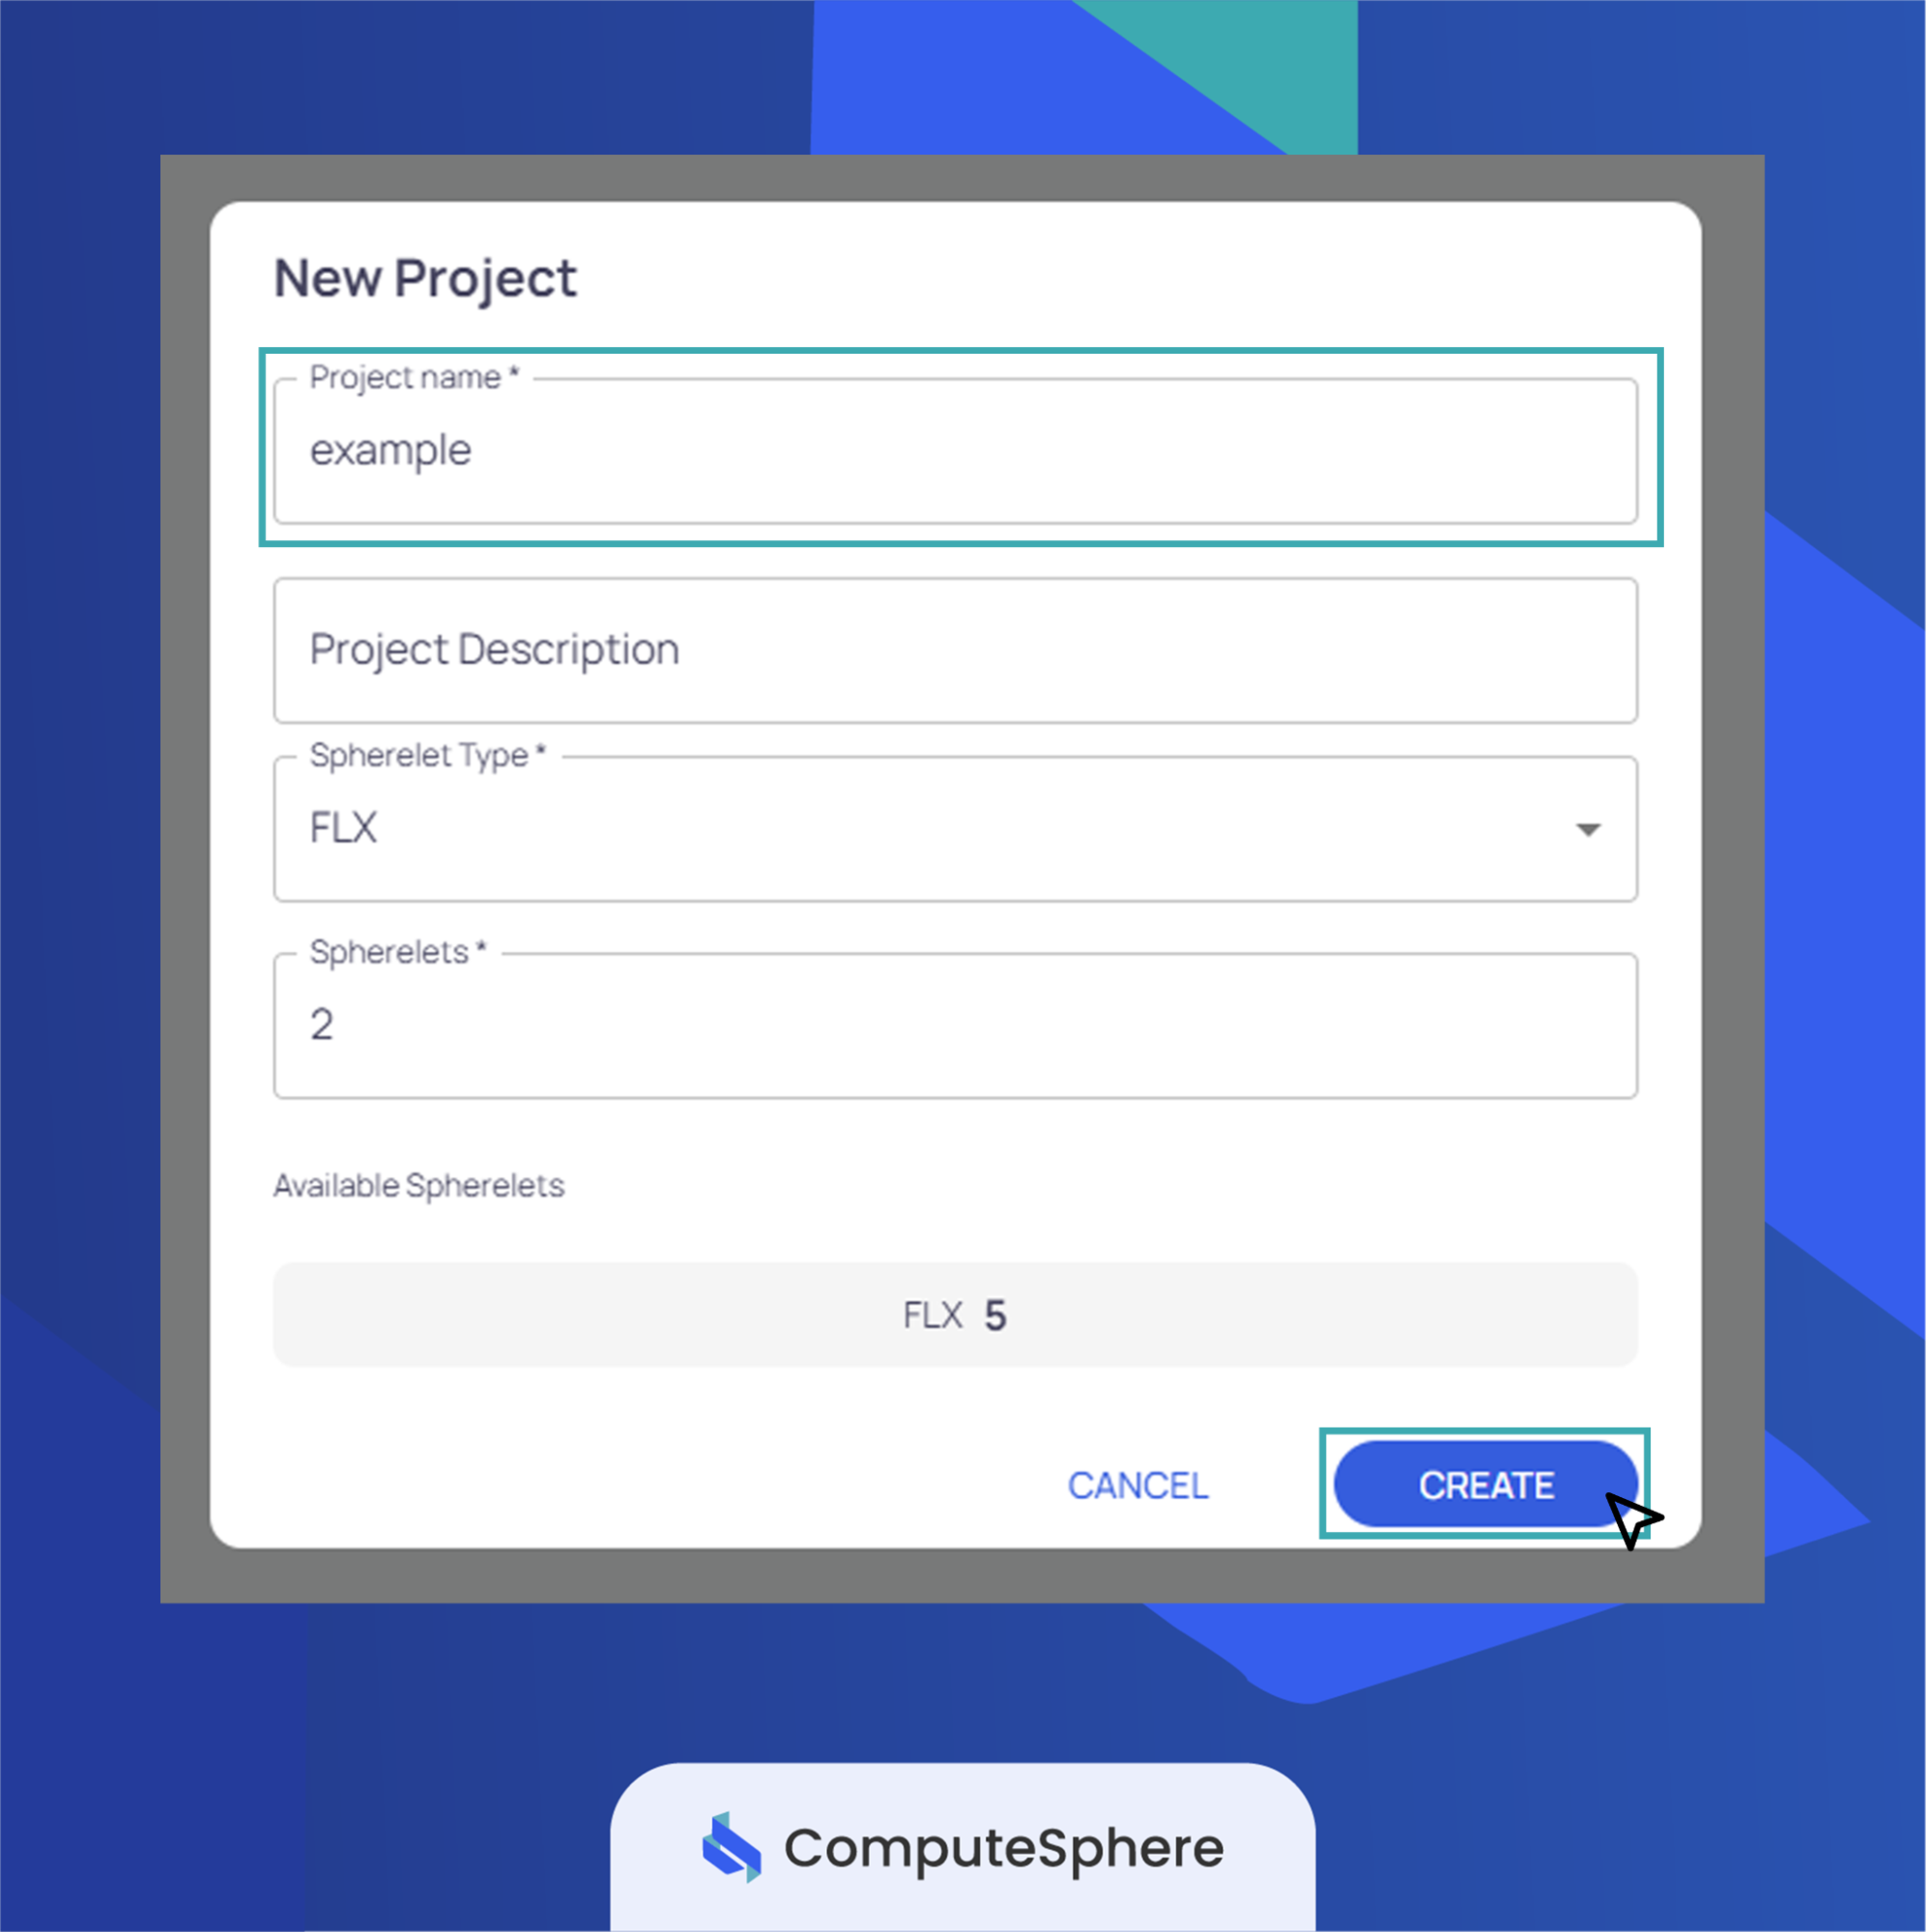
- Provide a name for the project, then click Create.
Step 3: Create a new service
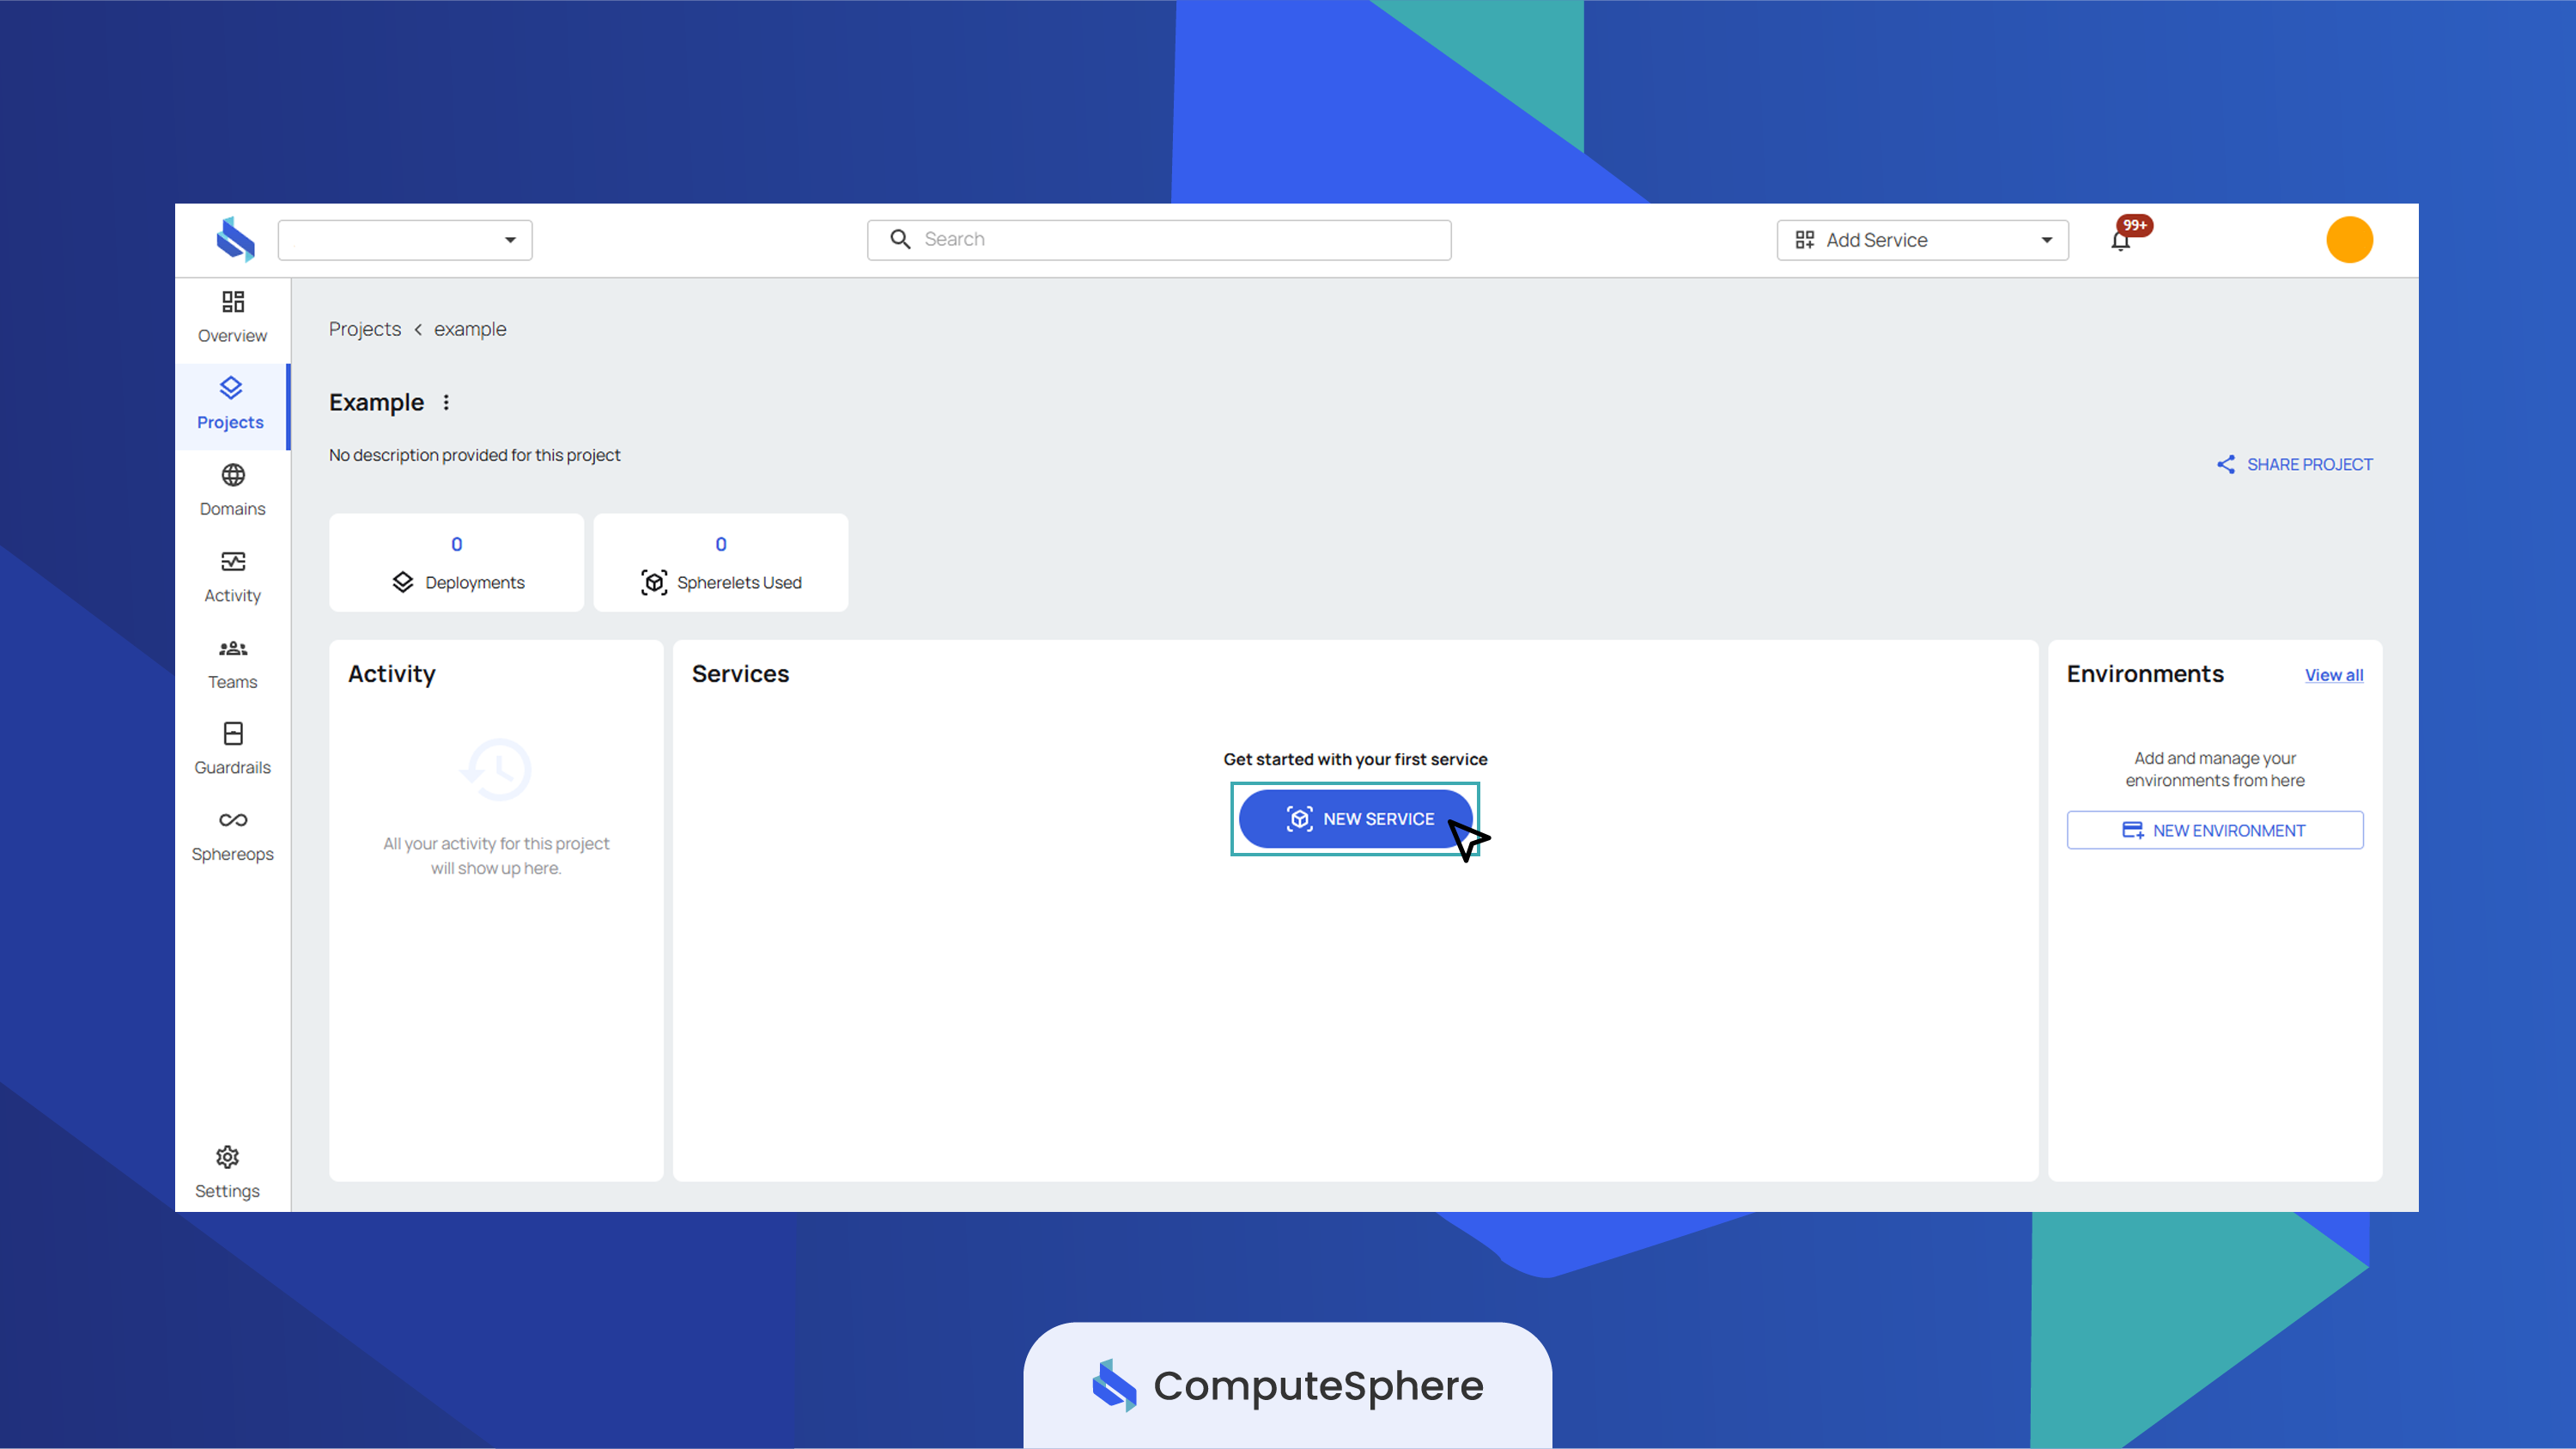
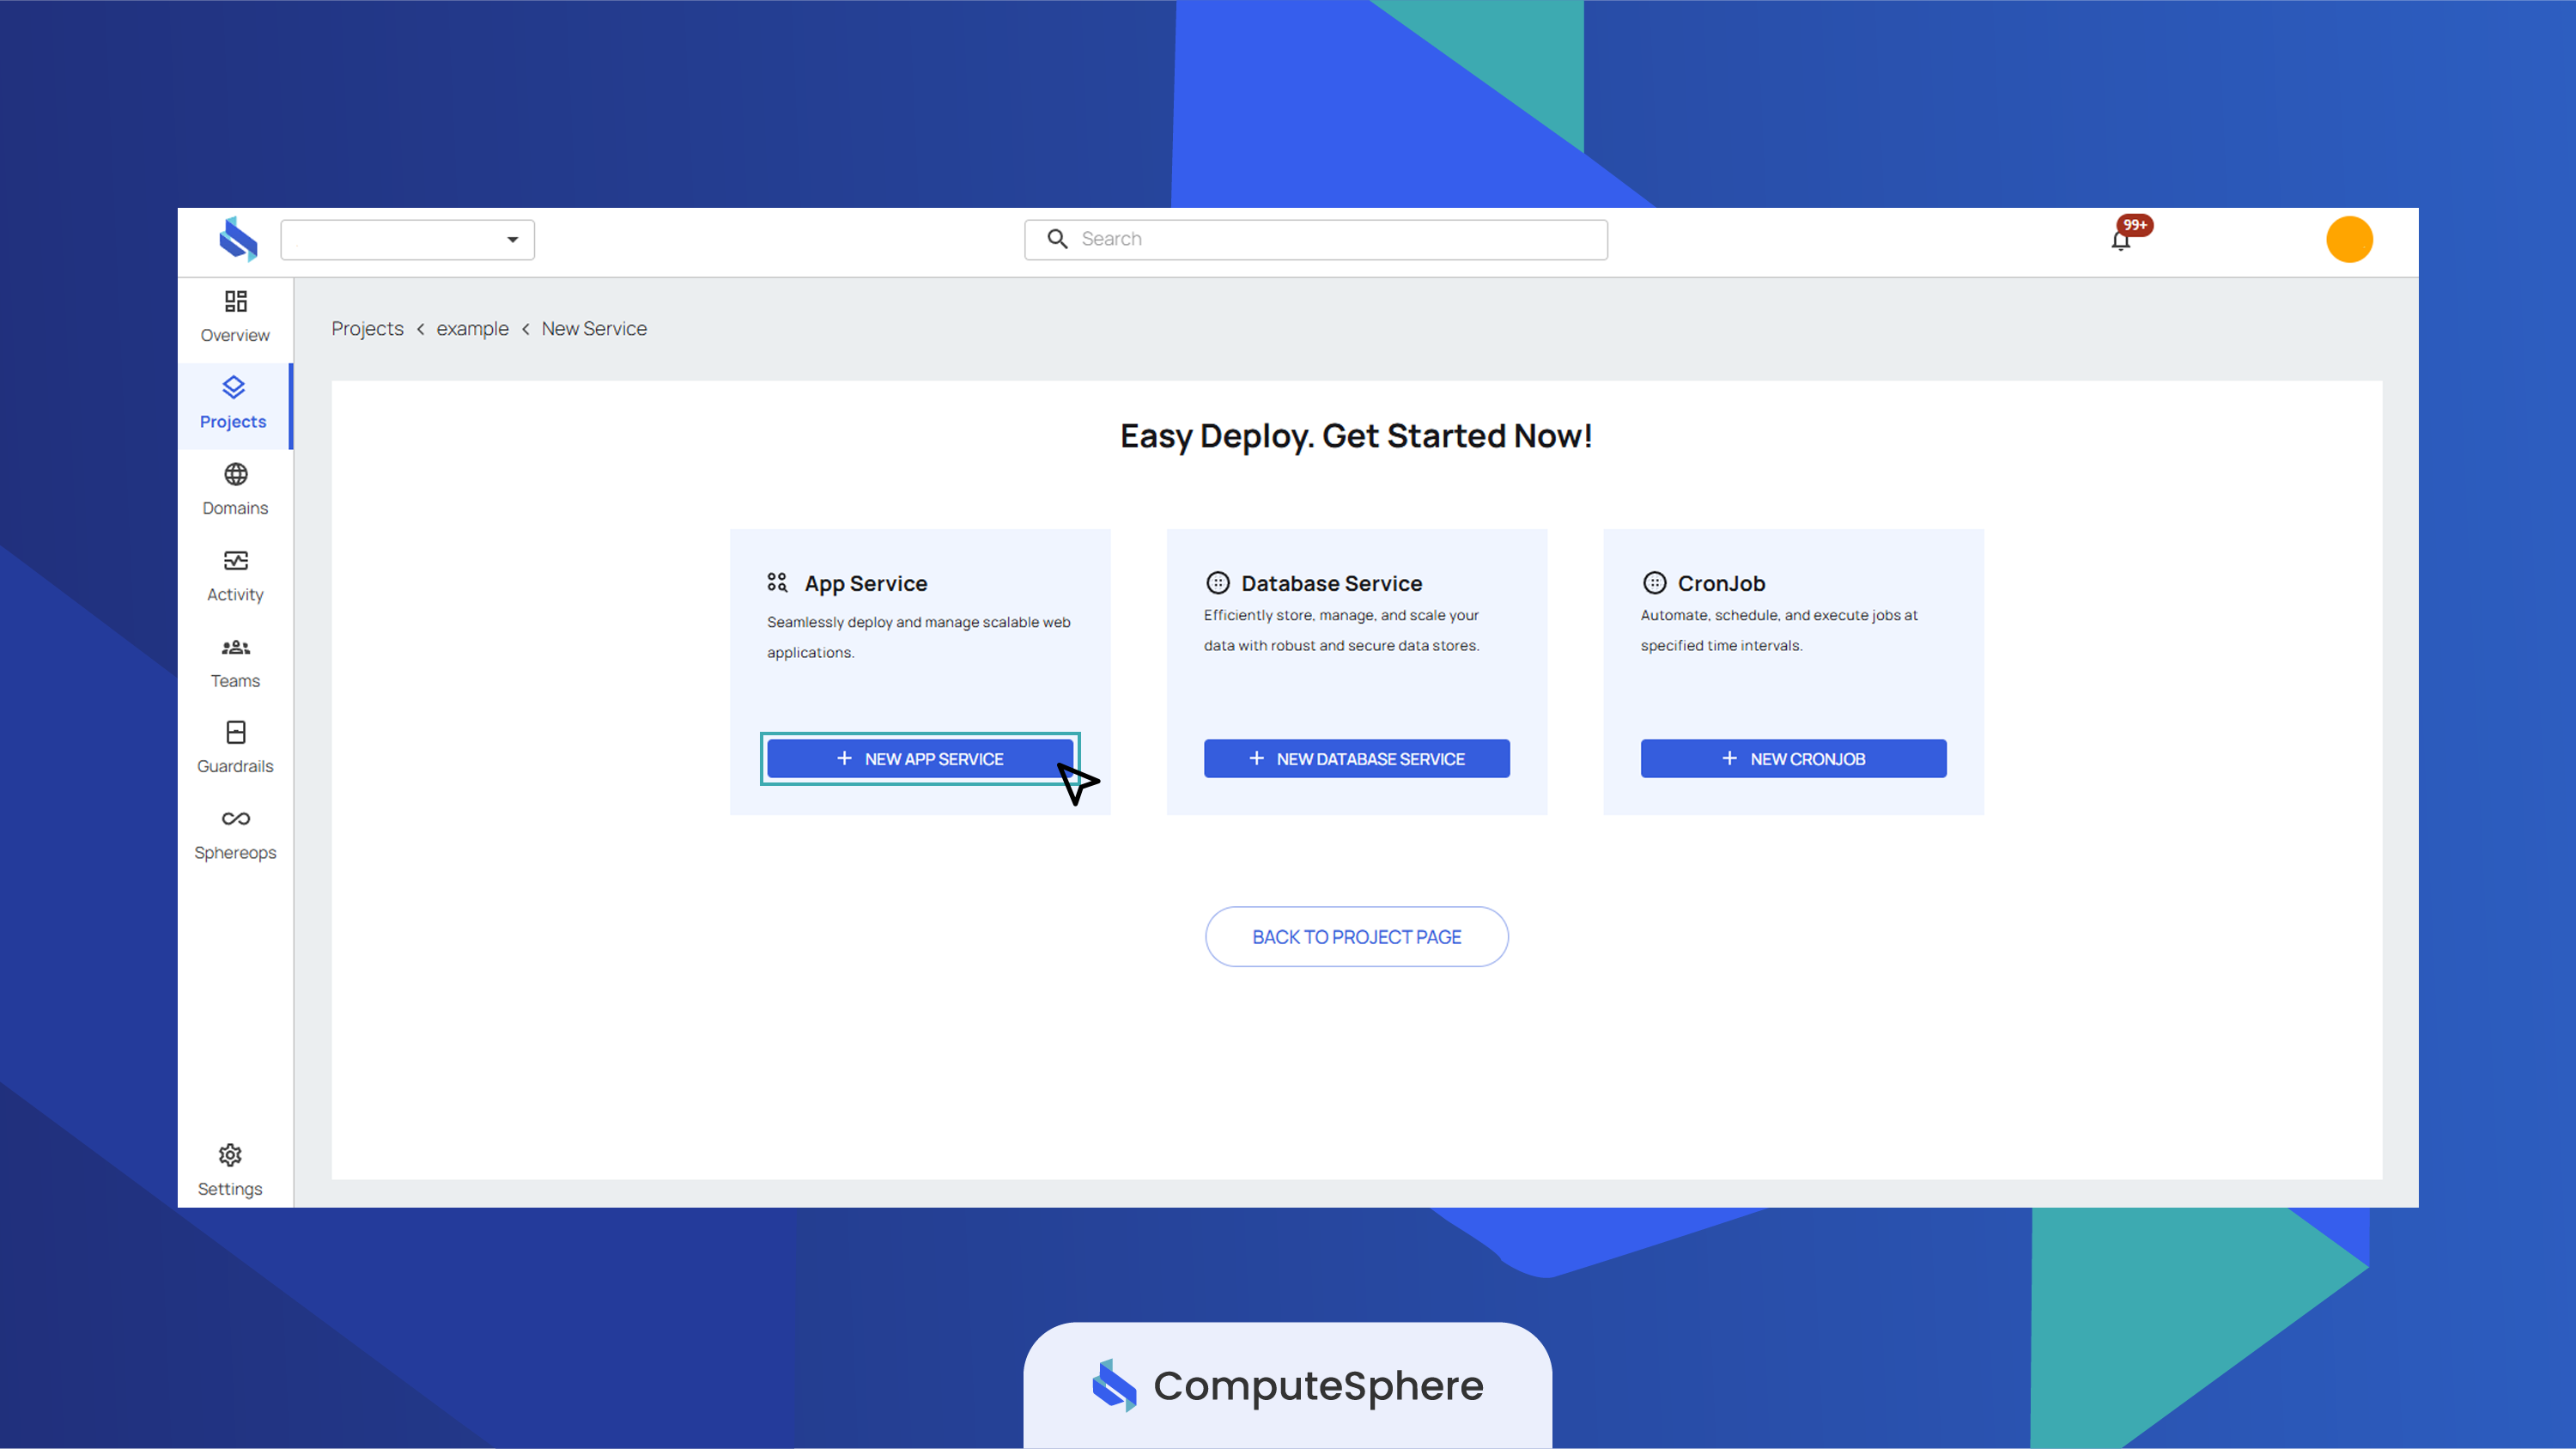
- Inside your project page, click New Service.
- Click New App Service.
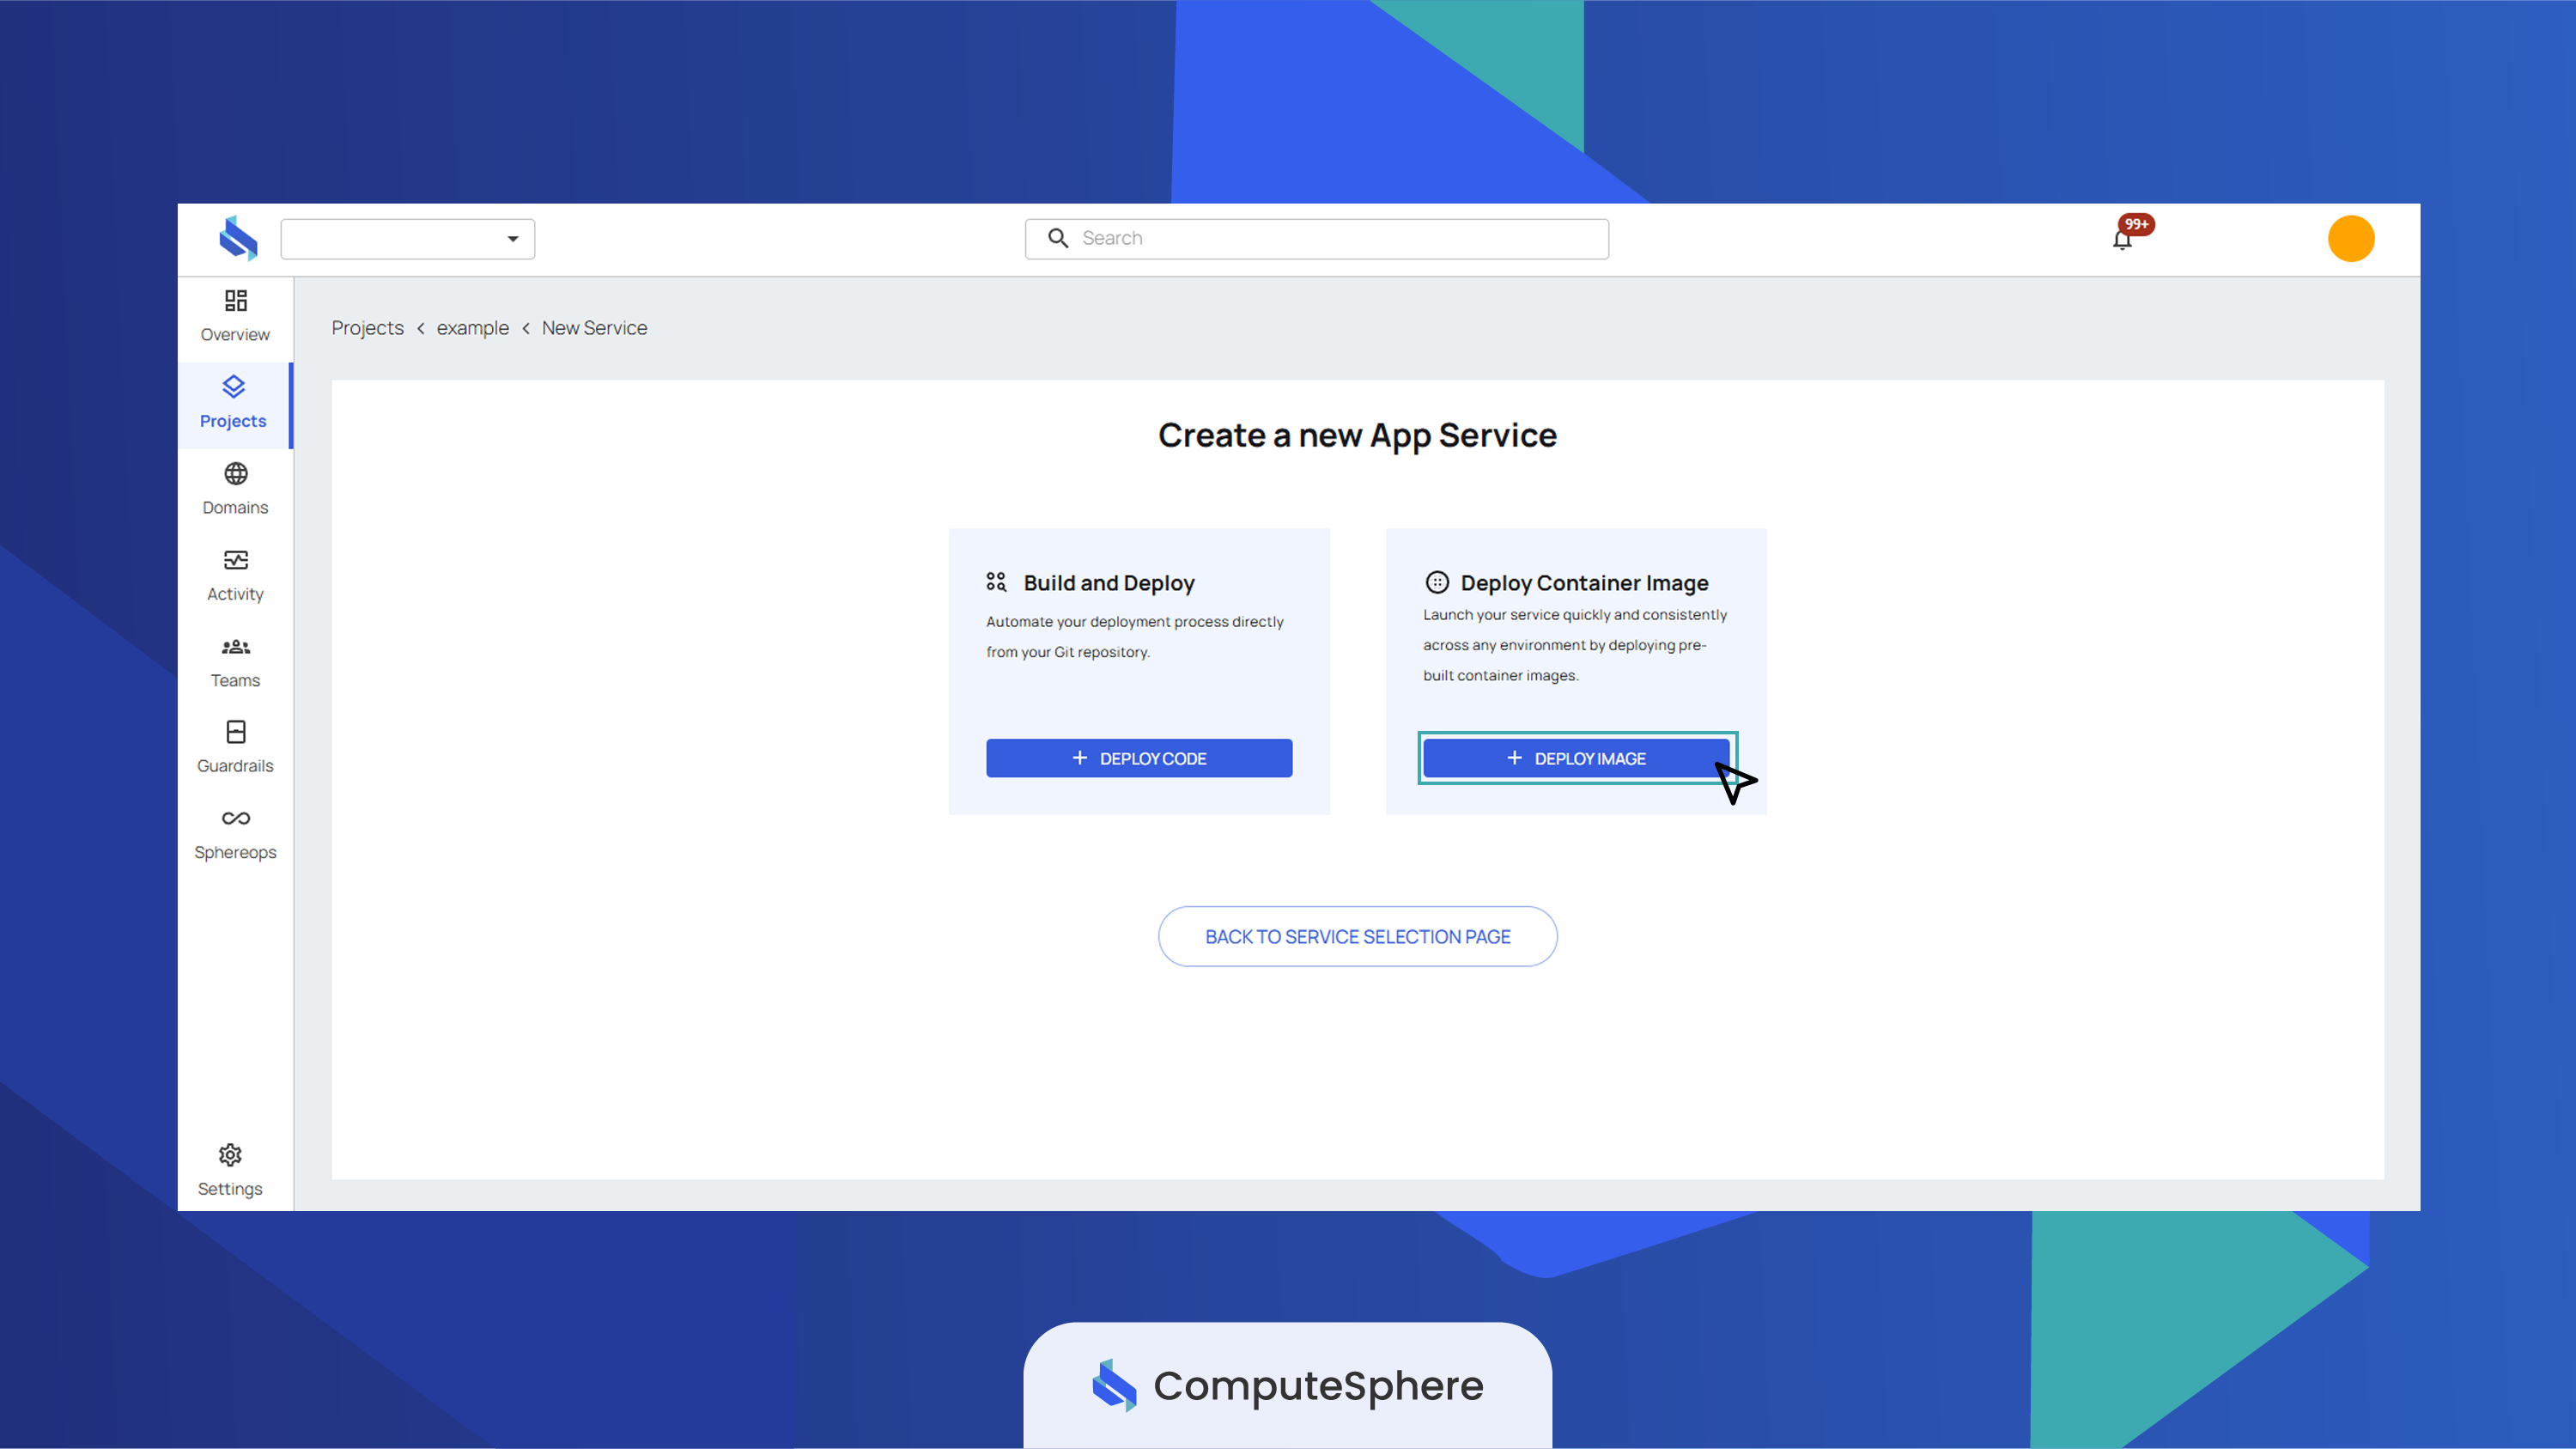
- Click Deploy Image.
Step 4: Configure and Deploy the Service
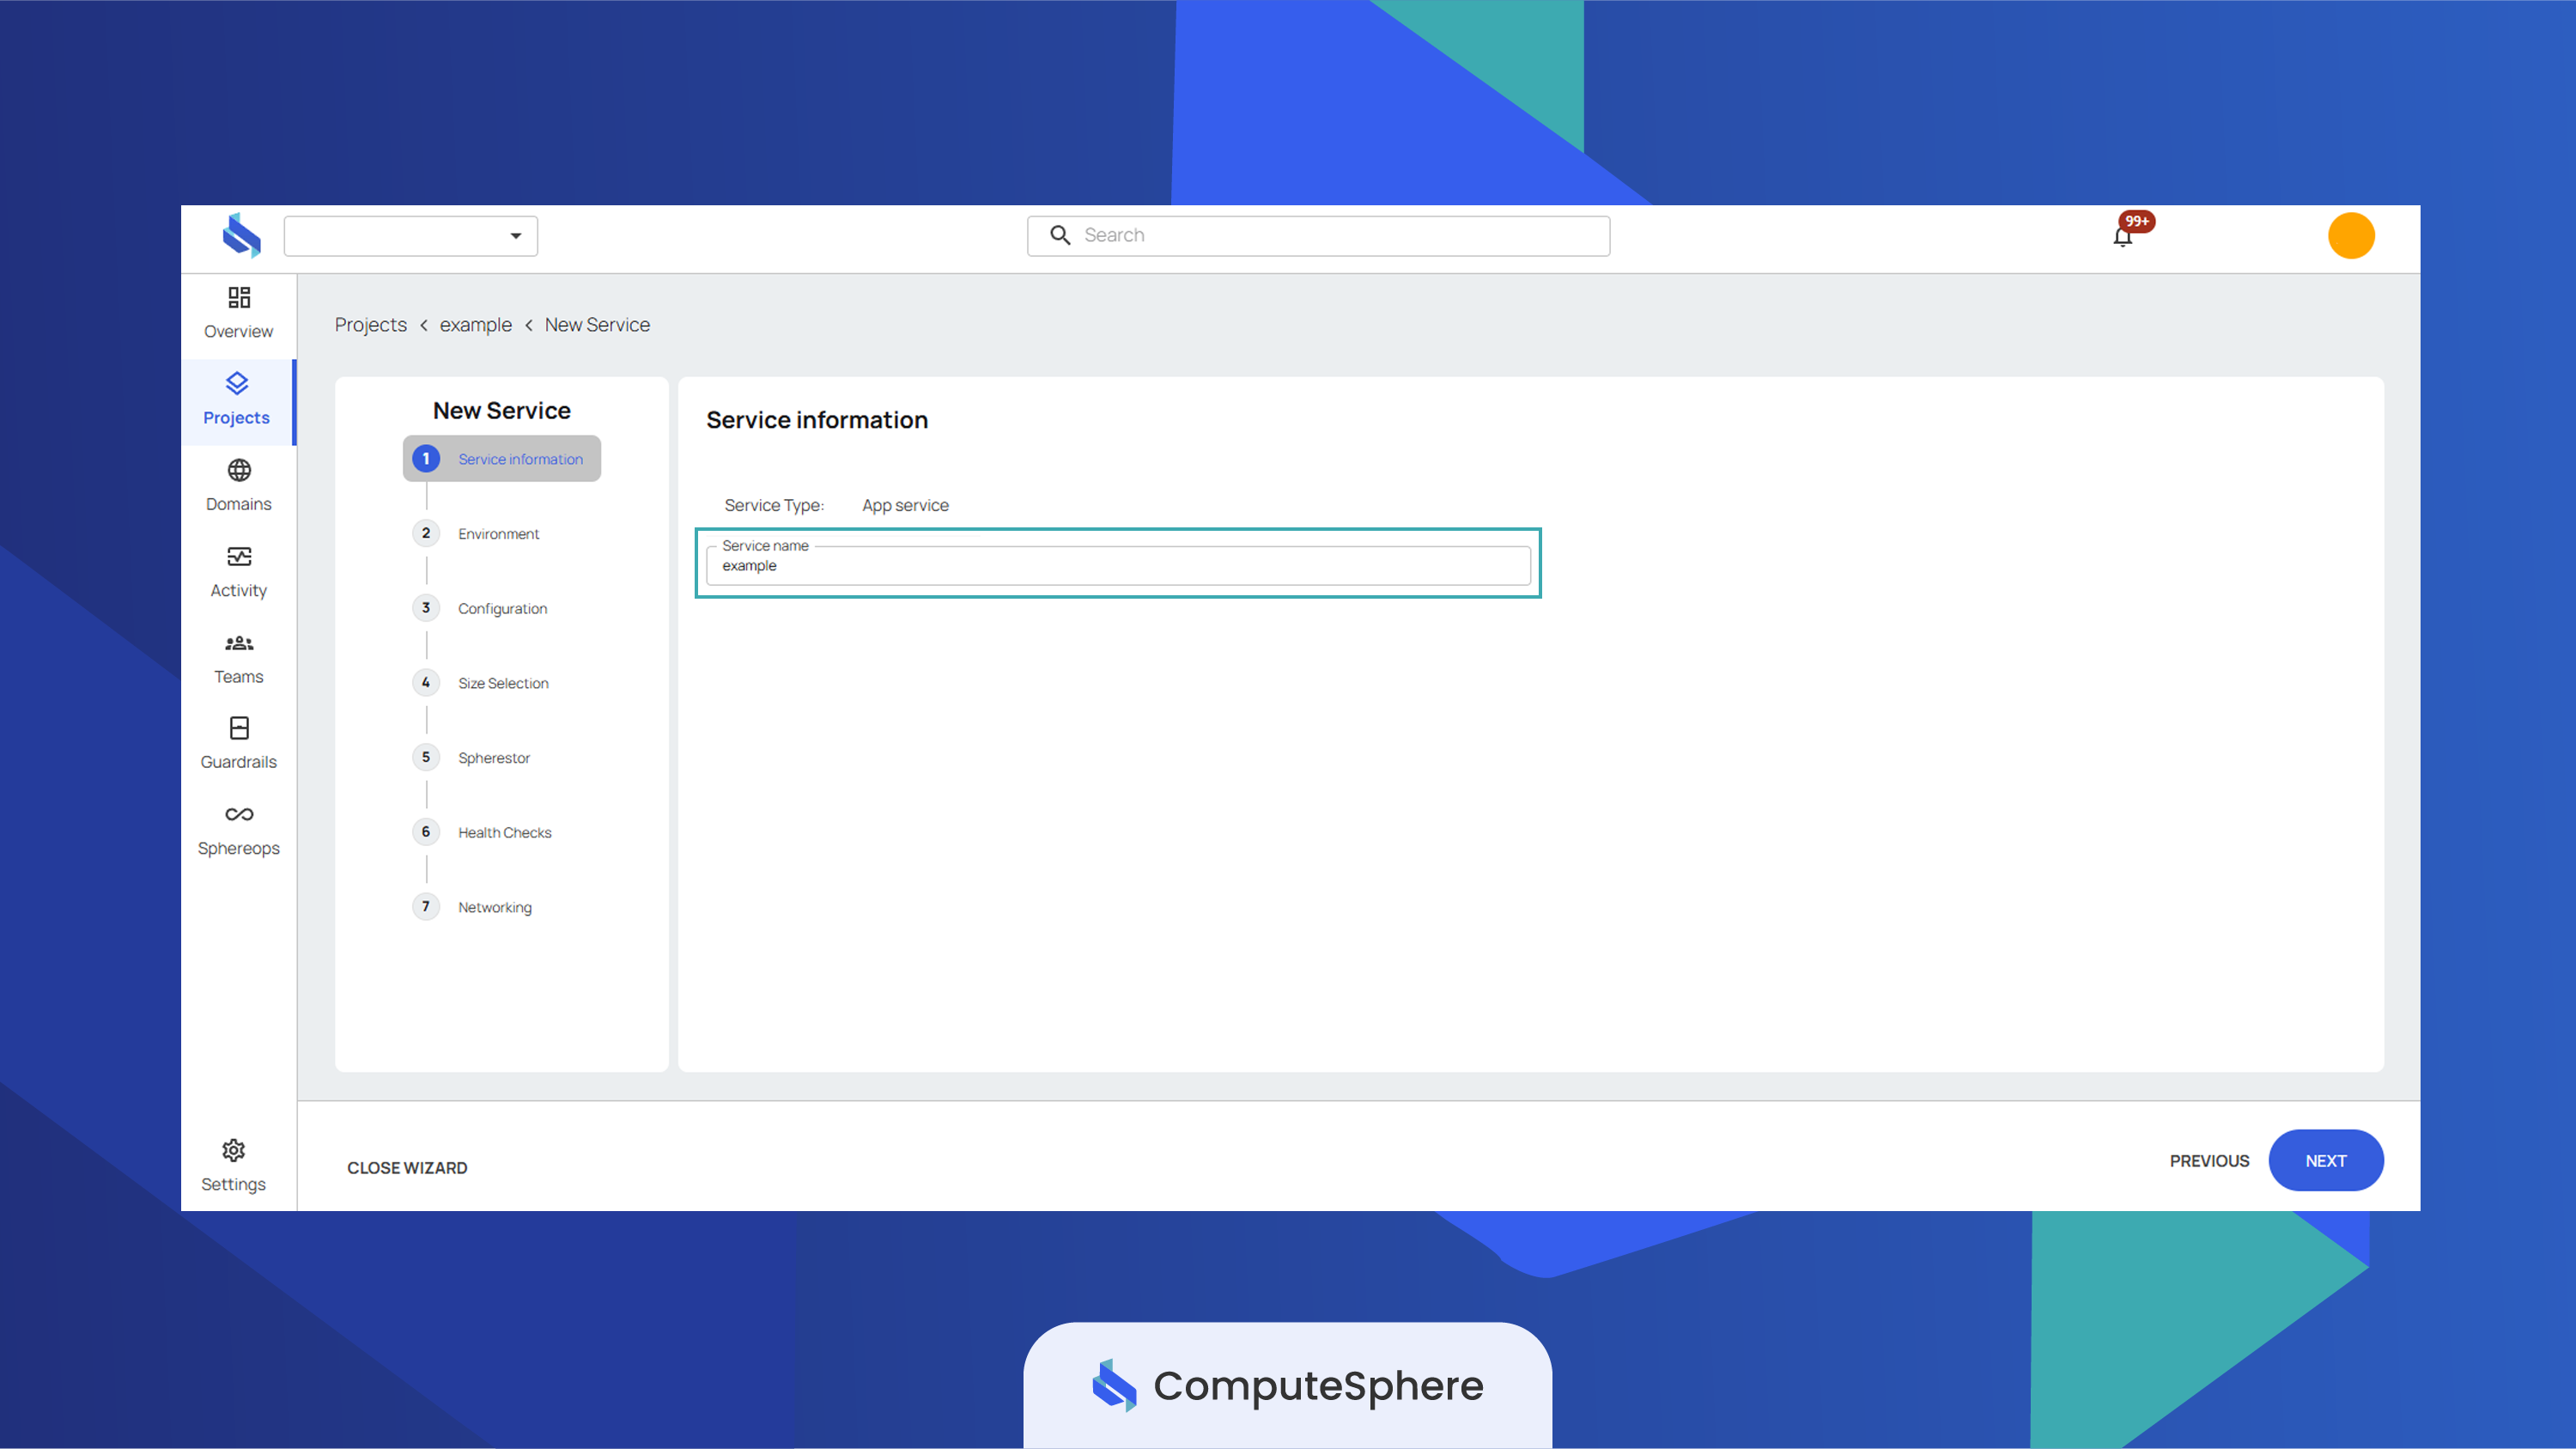
- Provide a name for the service and click Next.
- In the dropdown, click Create New Environment. In this section, you can add application environment variables, such as General Variables or Secret Variables. The variables are key-value pairs.
info
For more information regarding Environment, please see here.
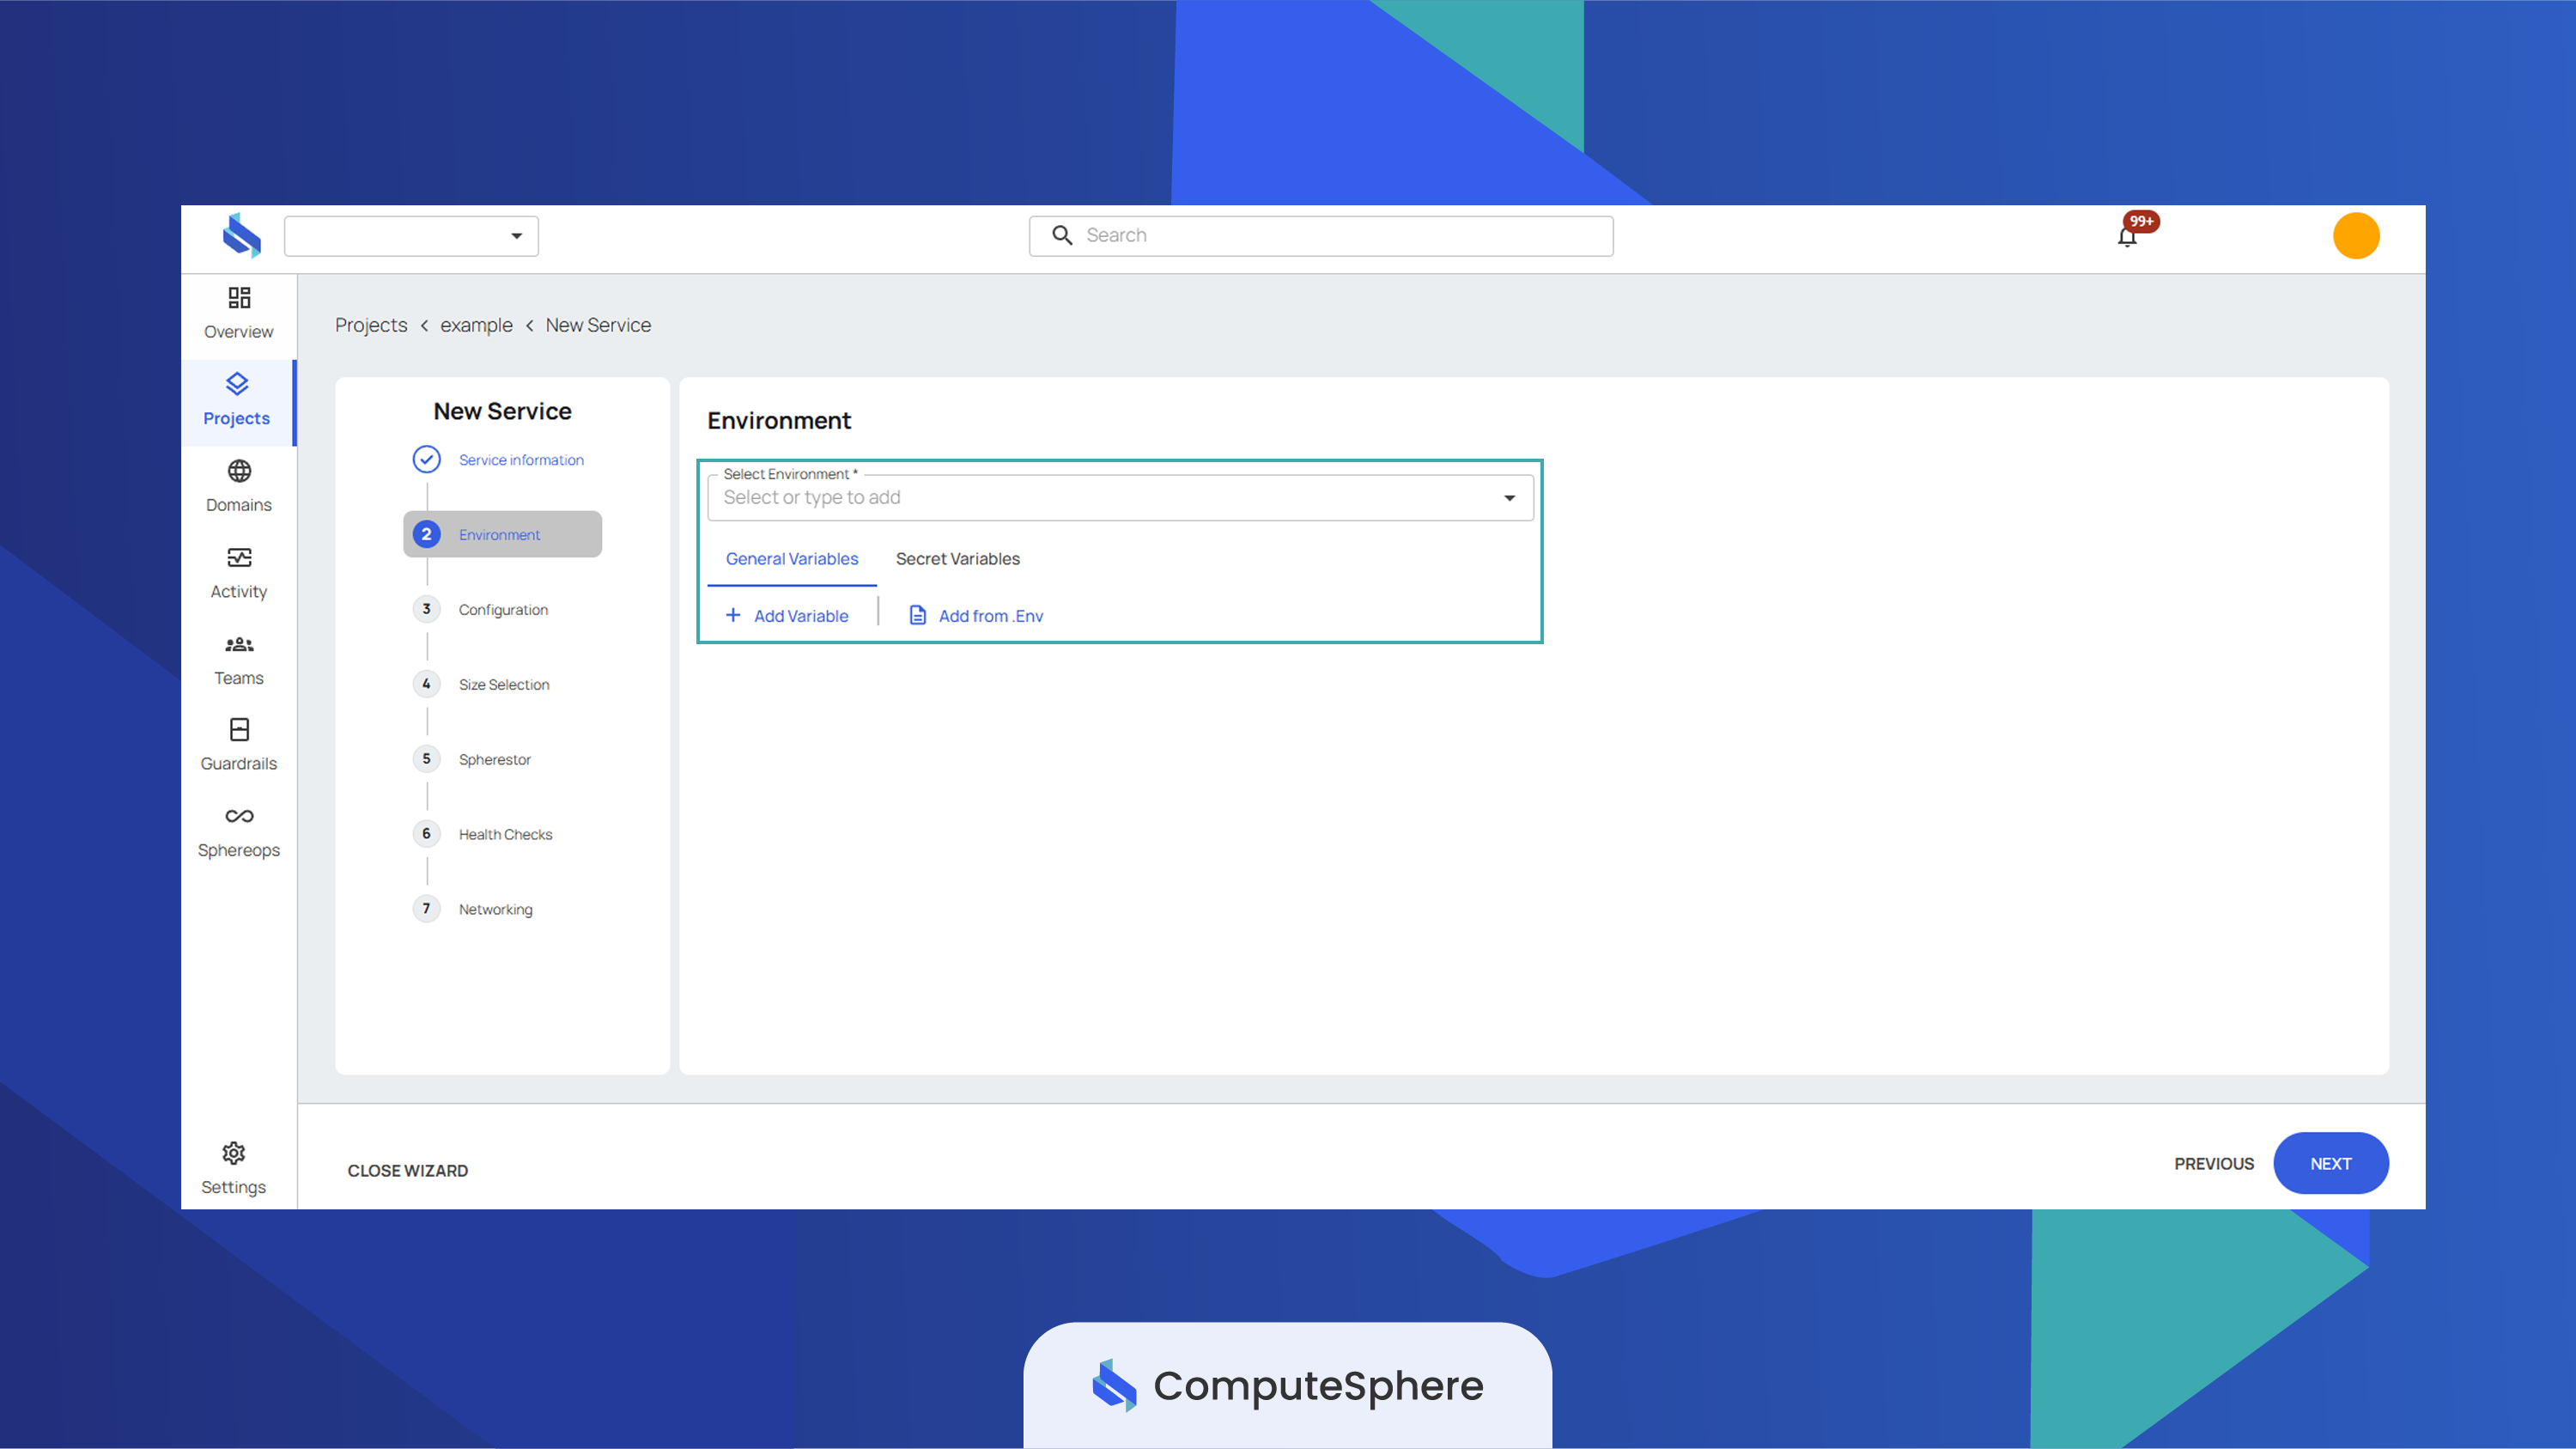
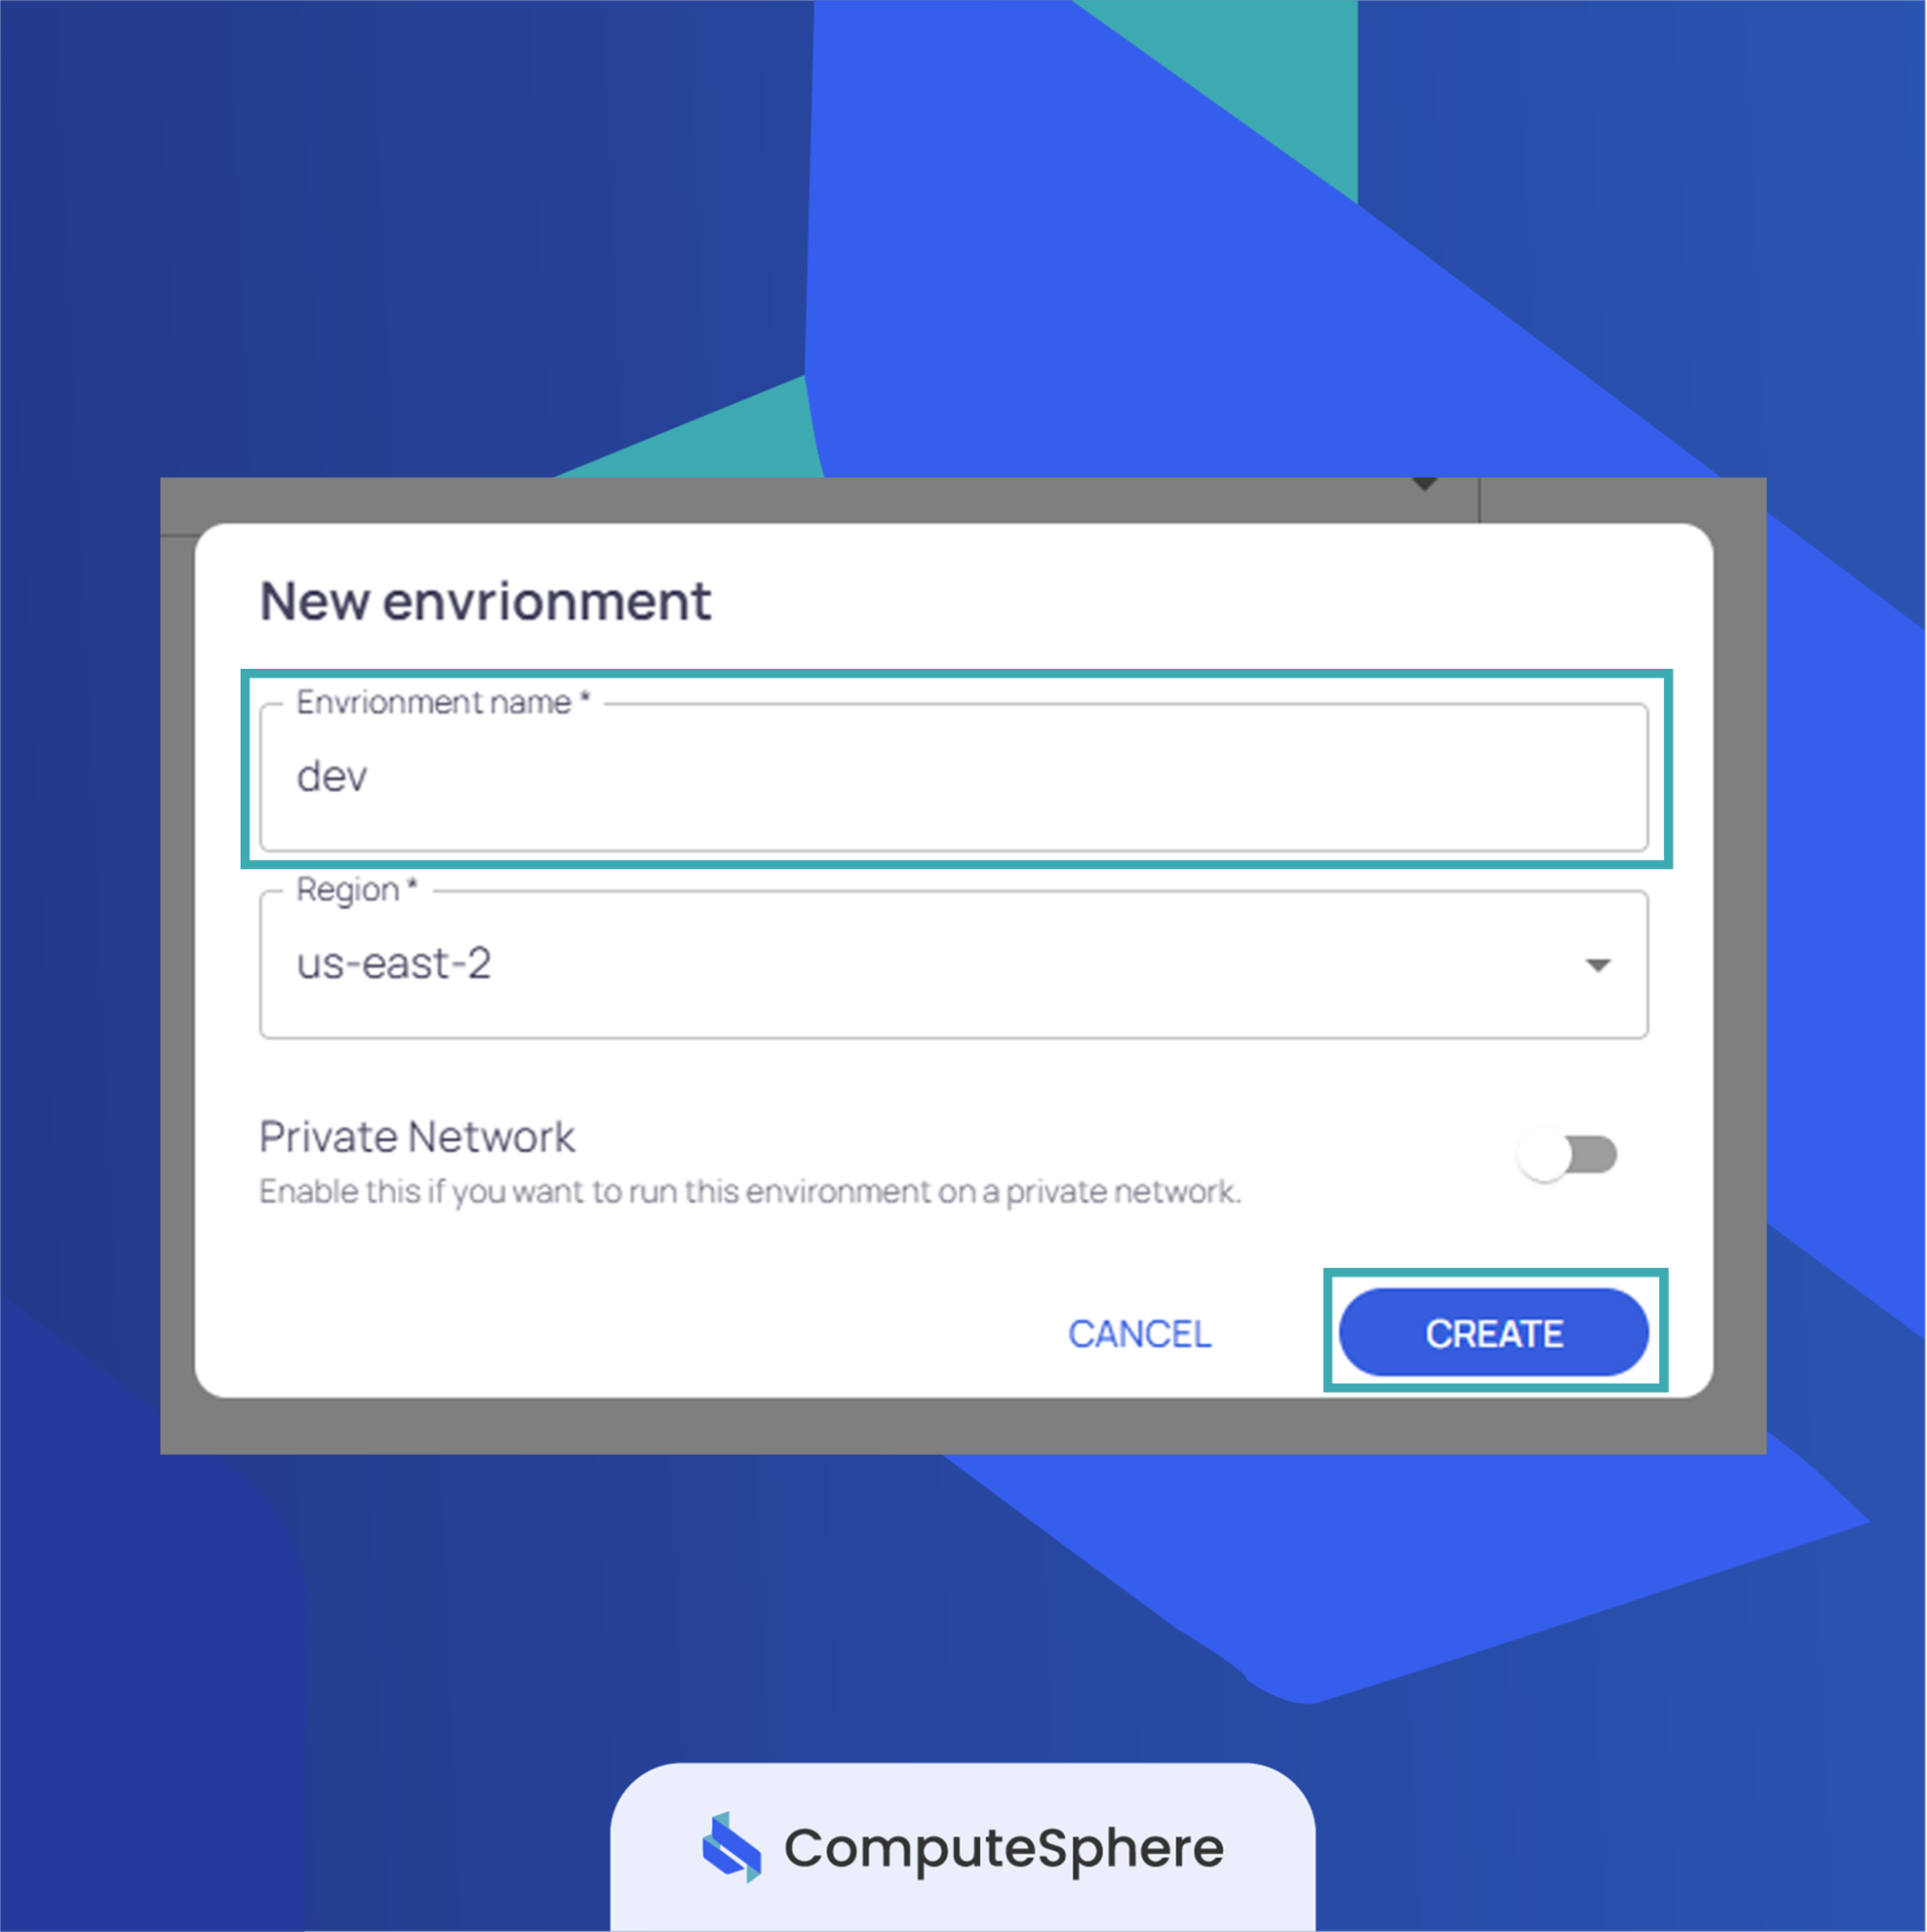
- Provide the name and the region for the environment → click Create → click Next.
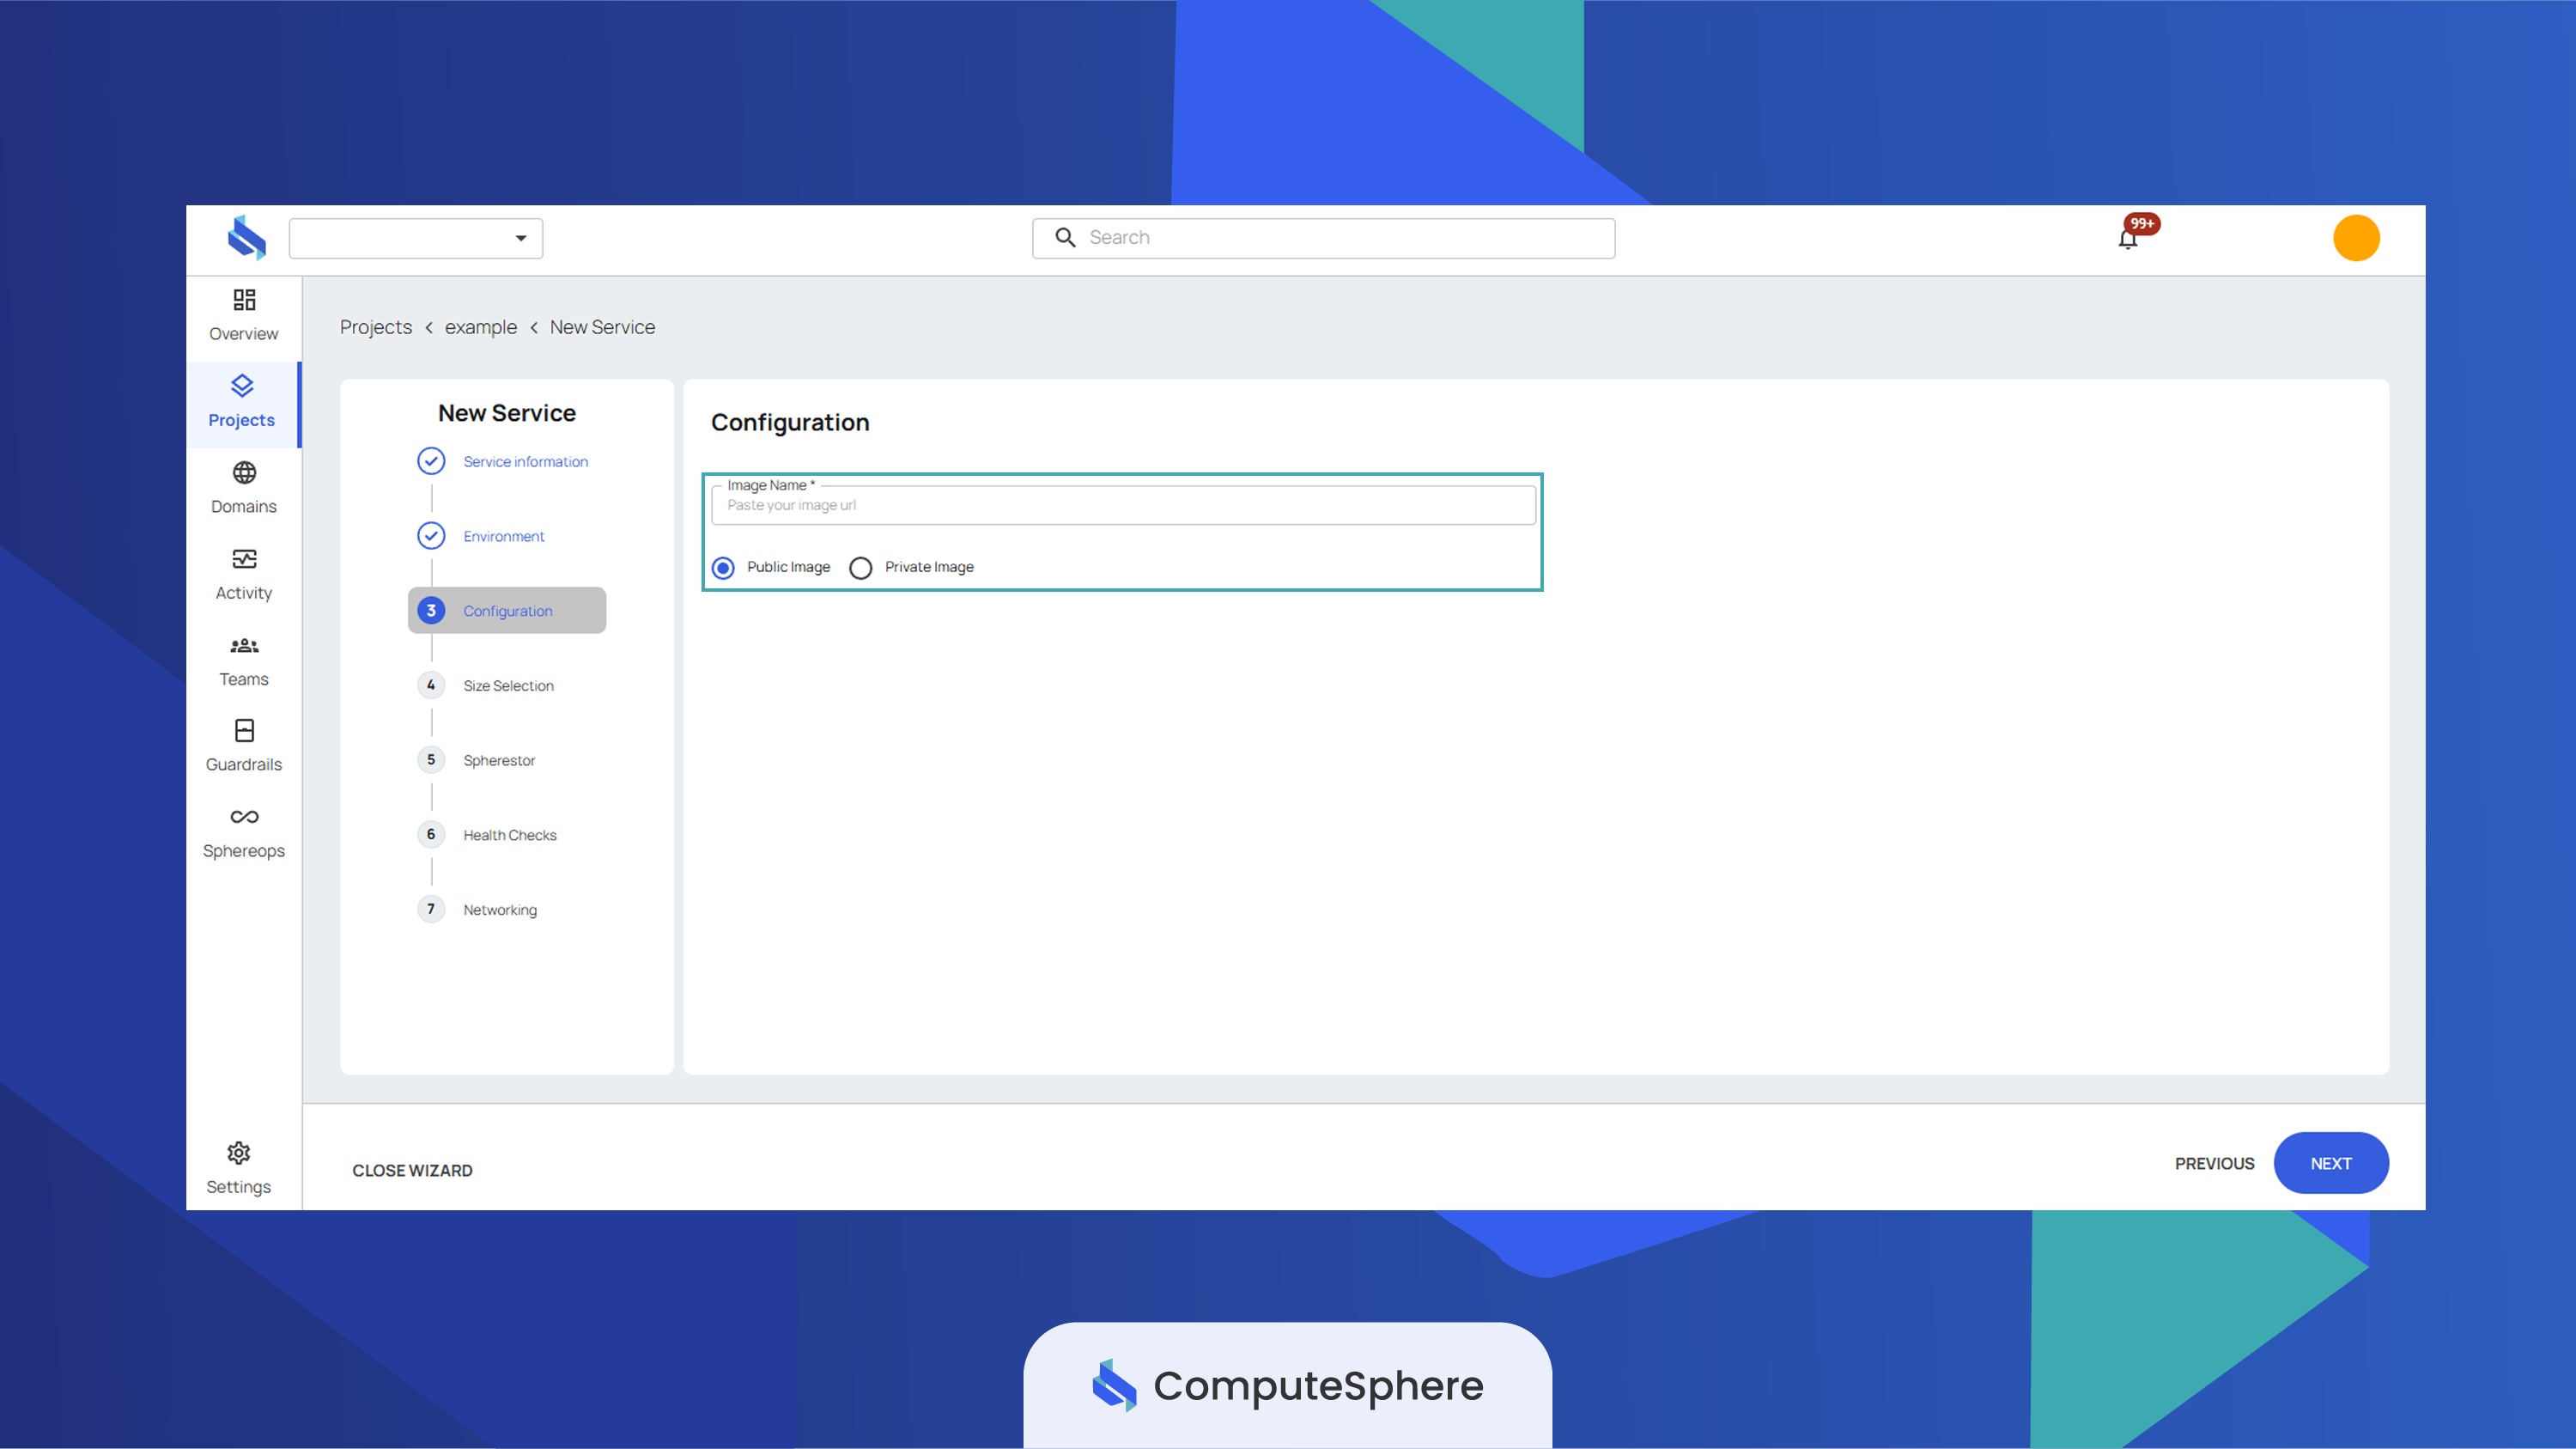
- Put the ComputeSphere pre-built image link:
quay.io/computesphere/computesphere-django-example:latest.
info
If you have your own docker container image, change the URL to your image URL.
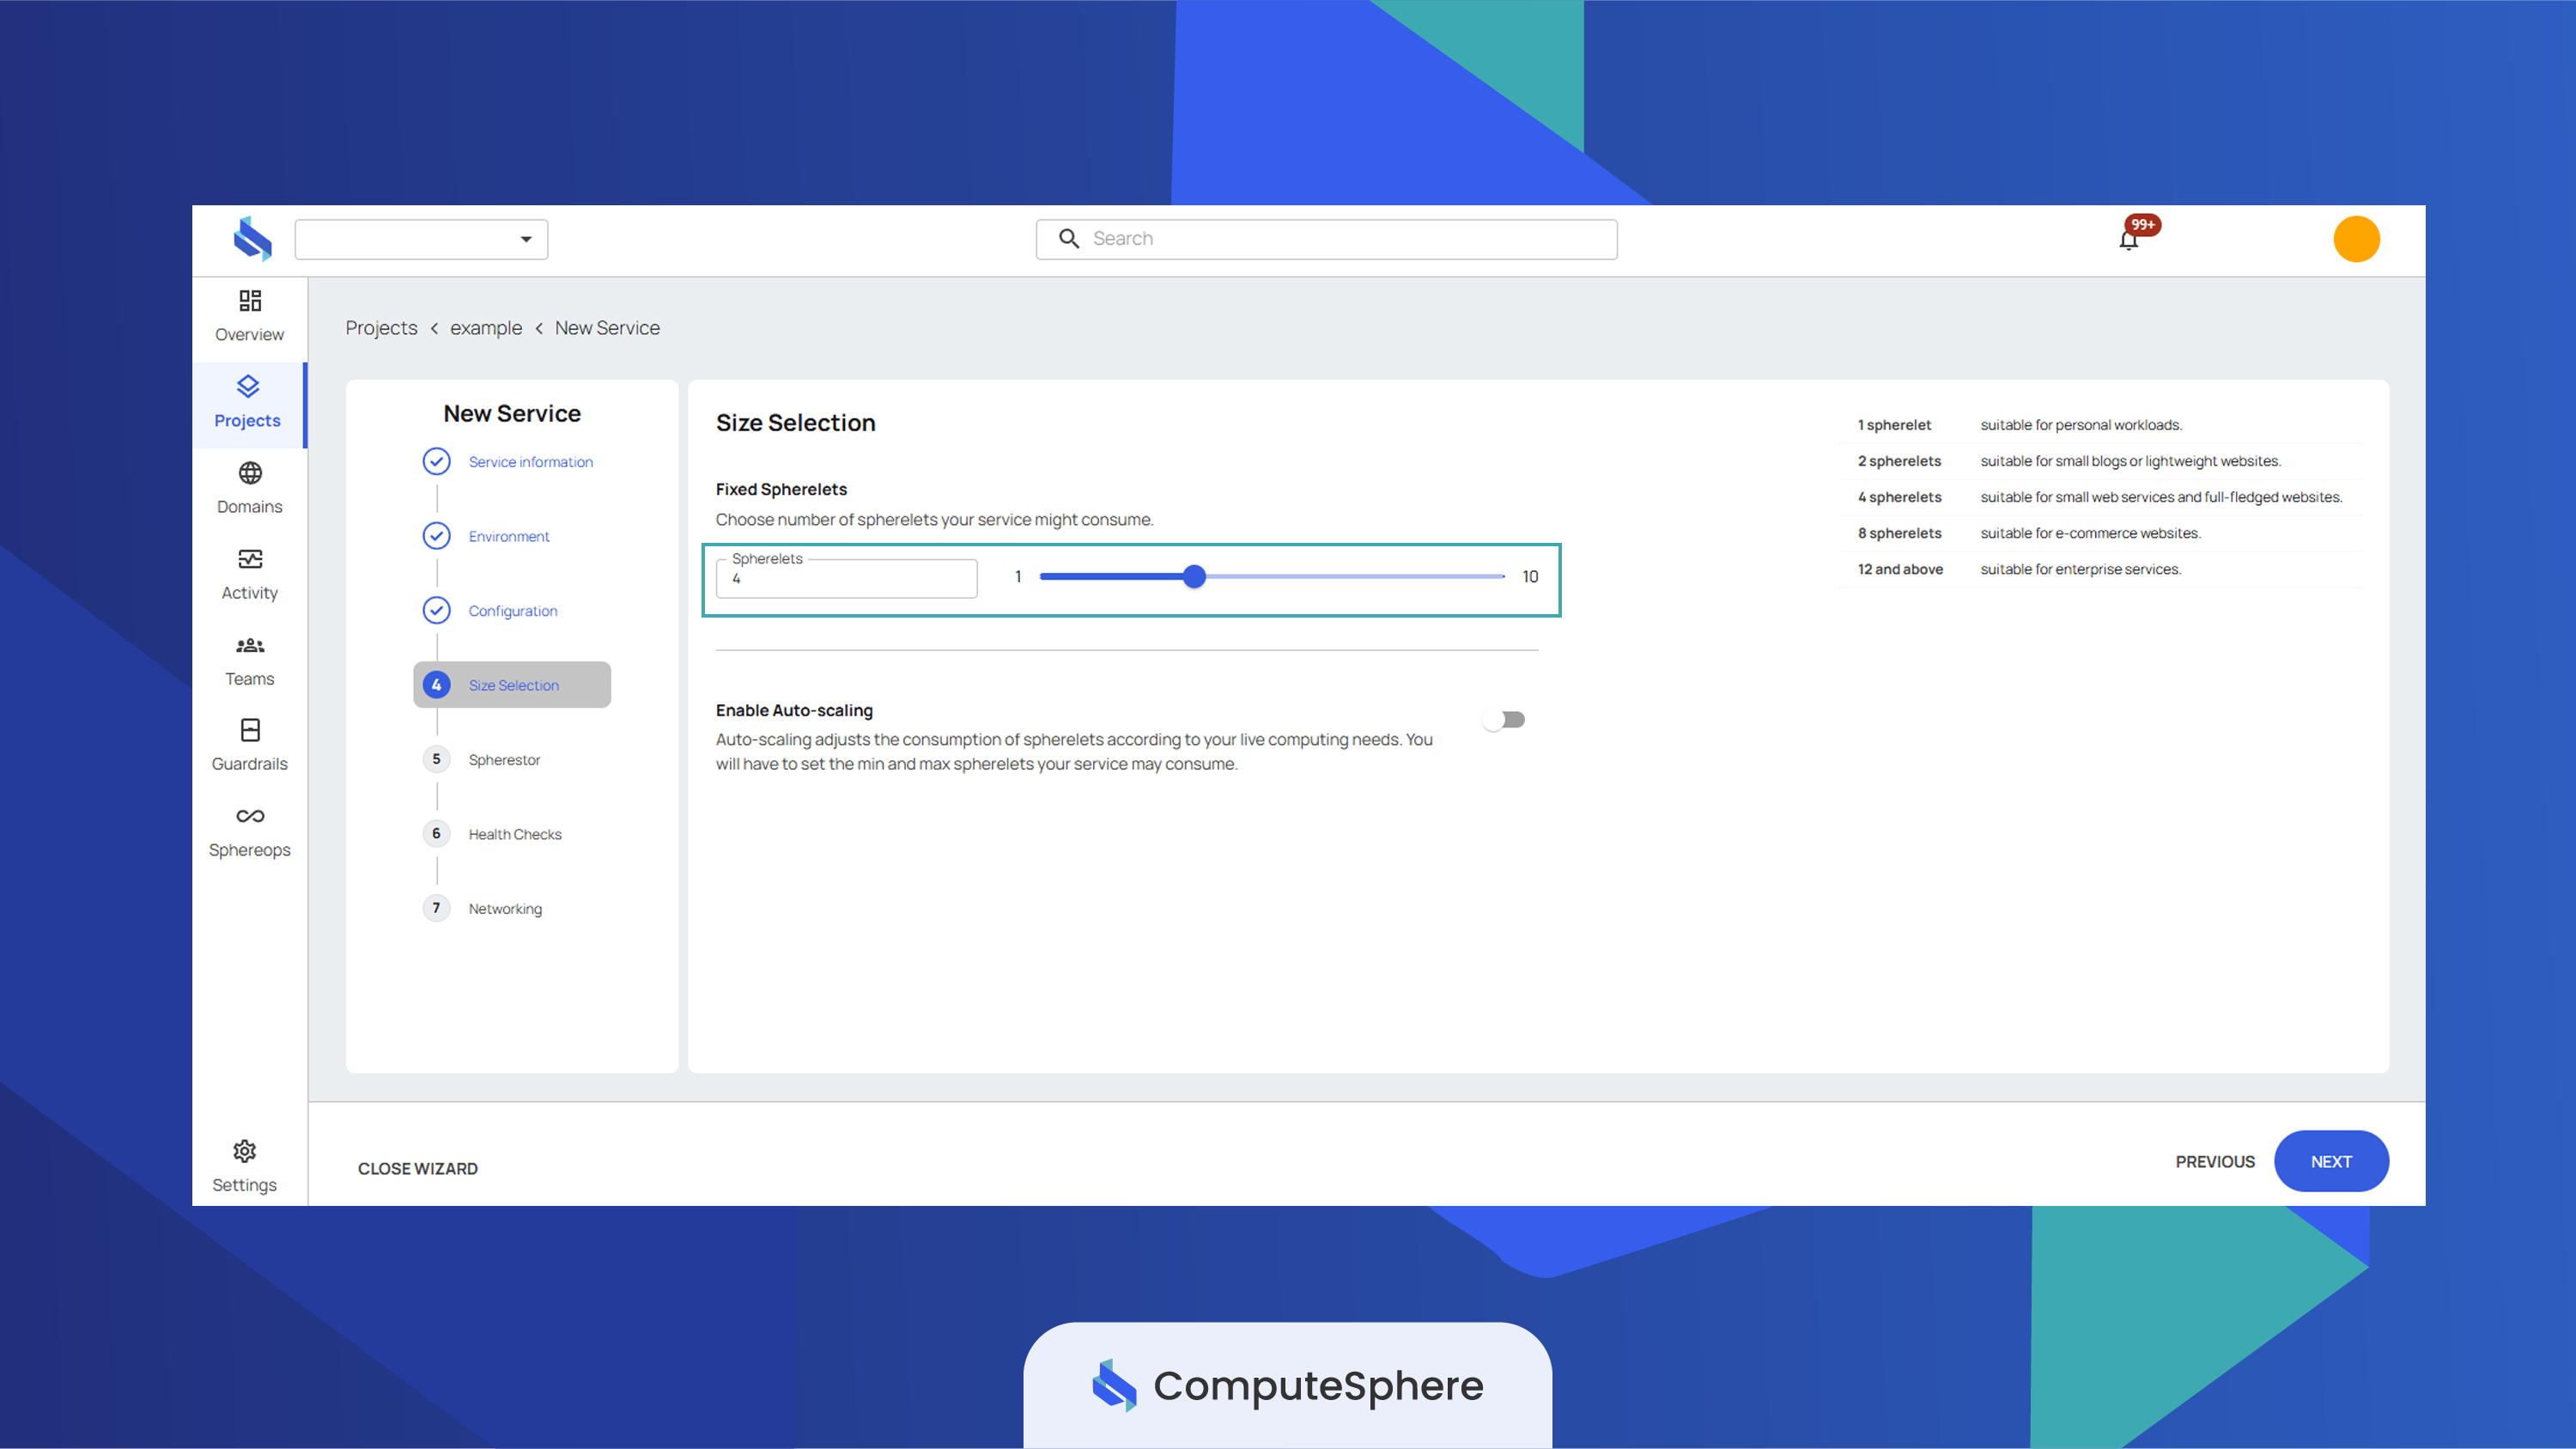
- Select the number of Spherelets to allocate. In this example, we're going to use 4 Spherelets.
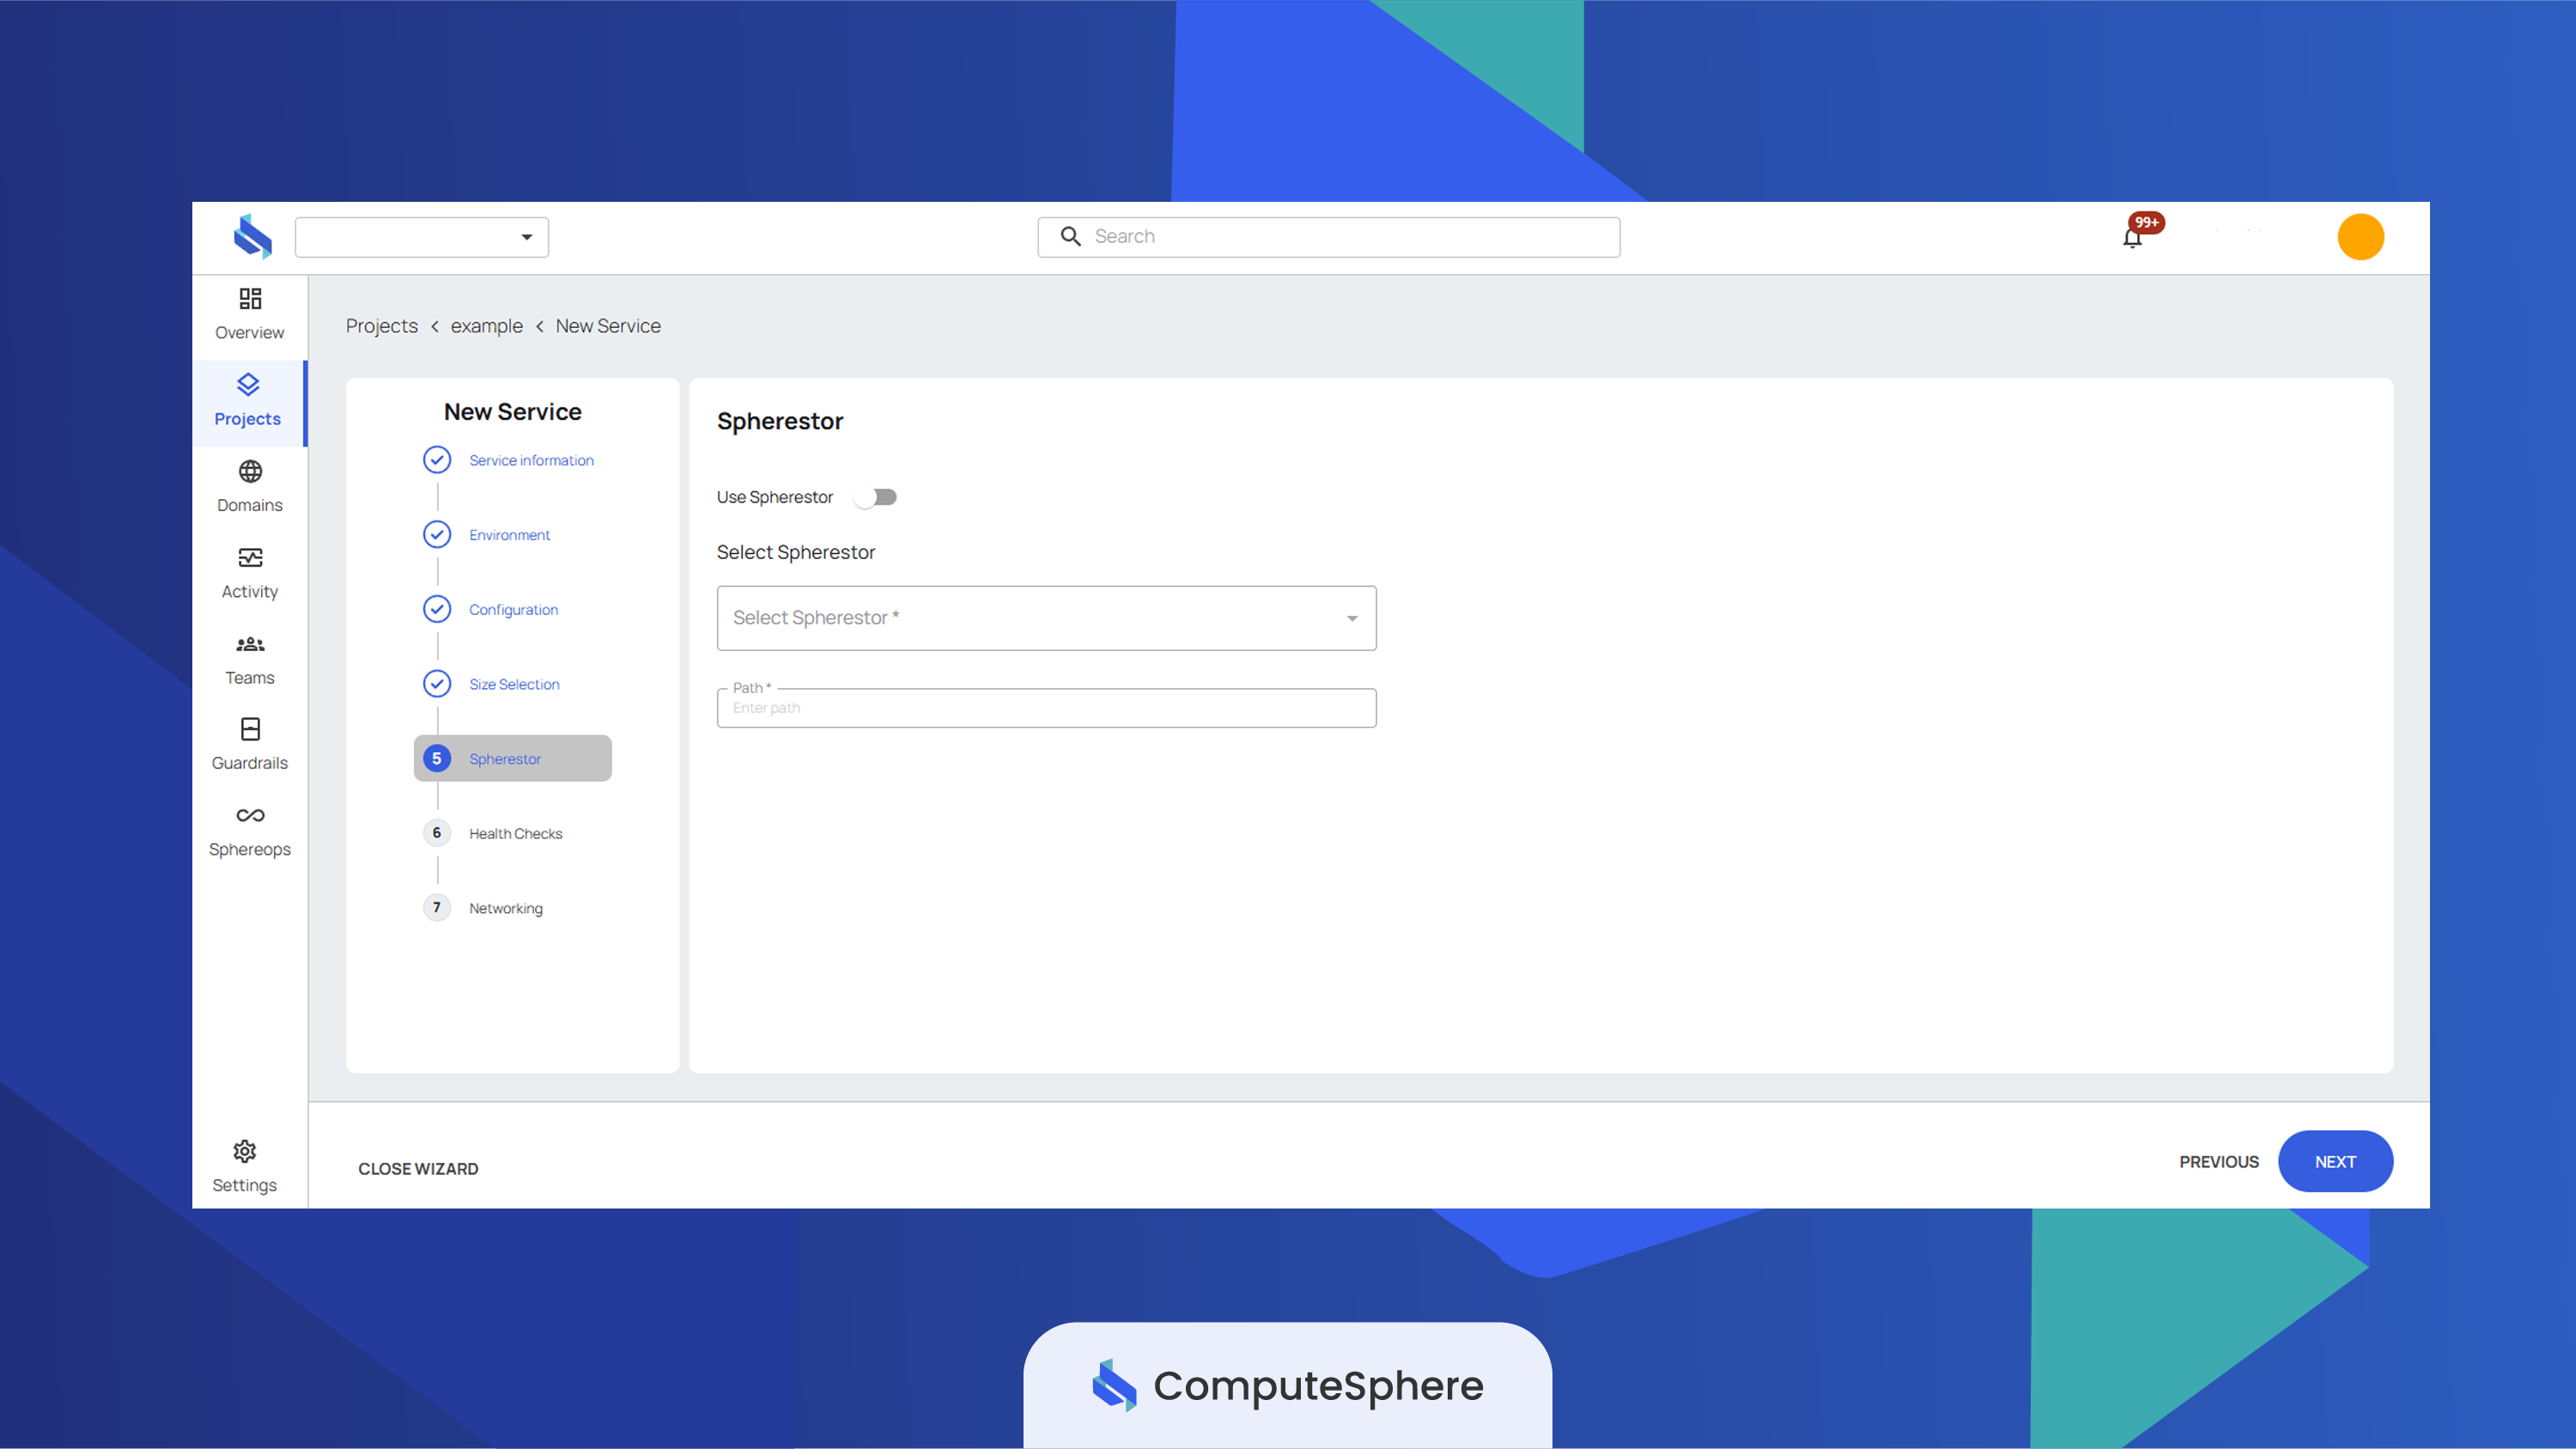
- You can choose to add storage to your service. In this example, we won't use one.
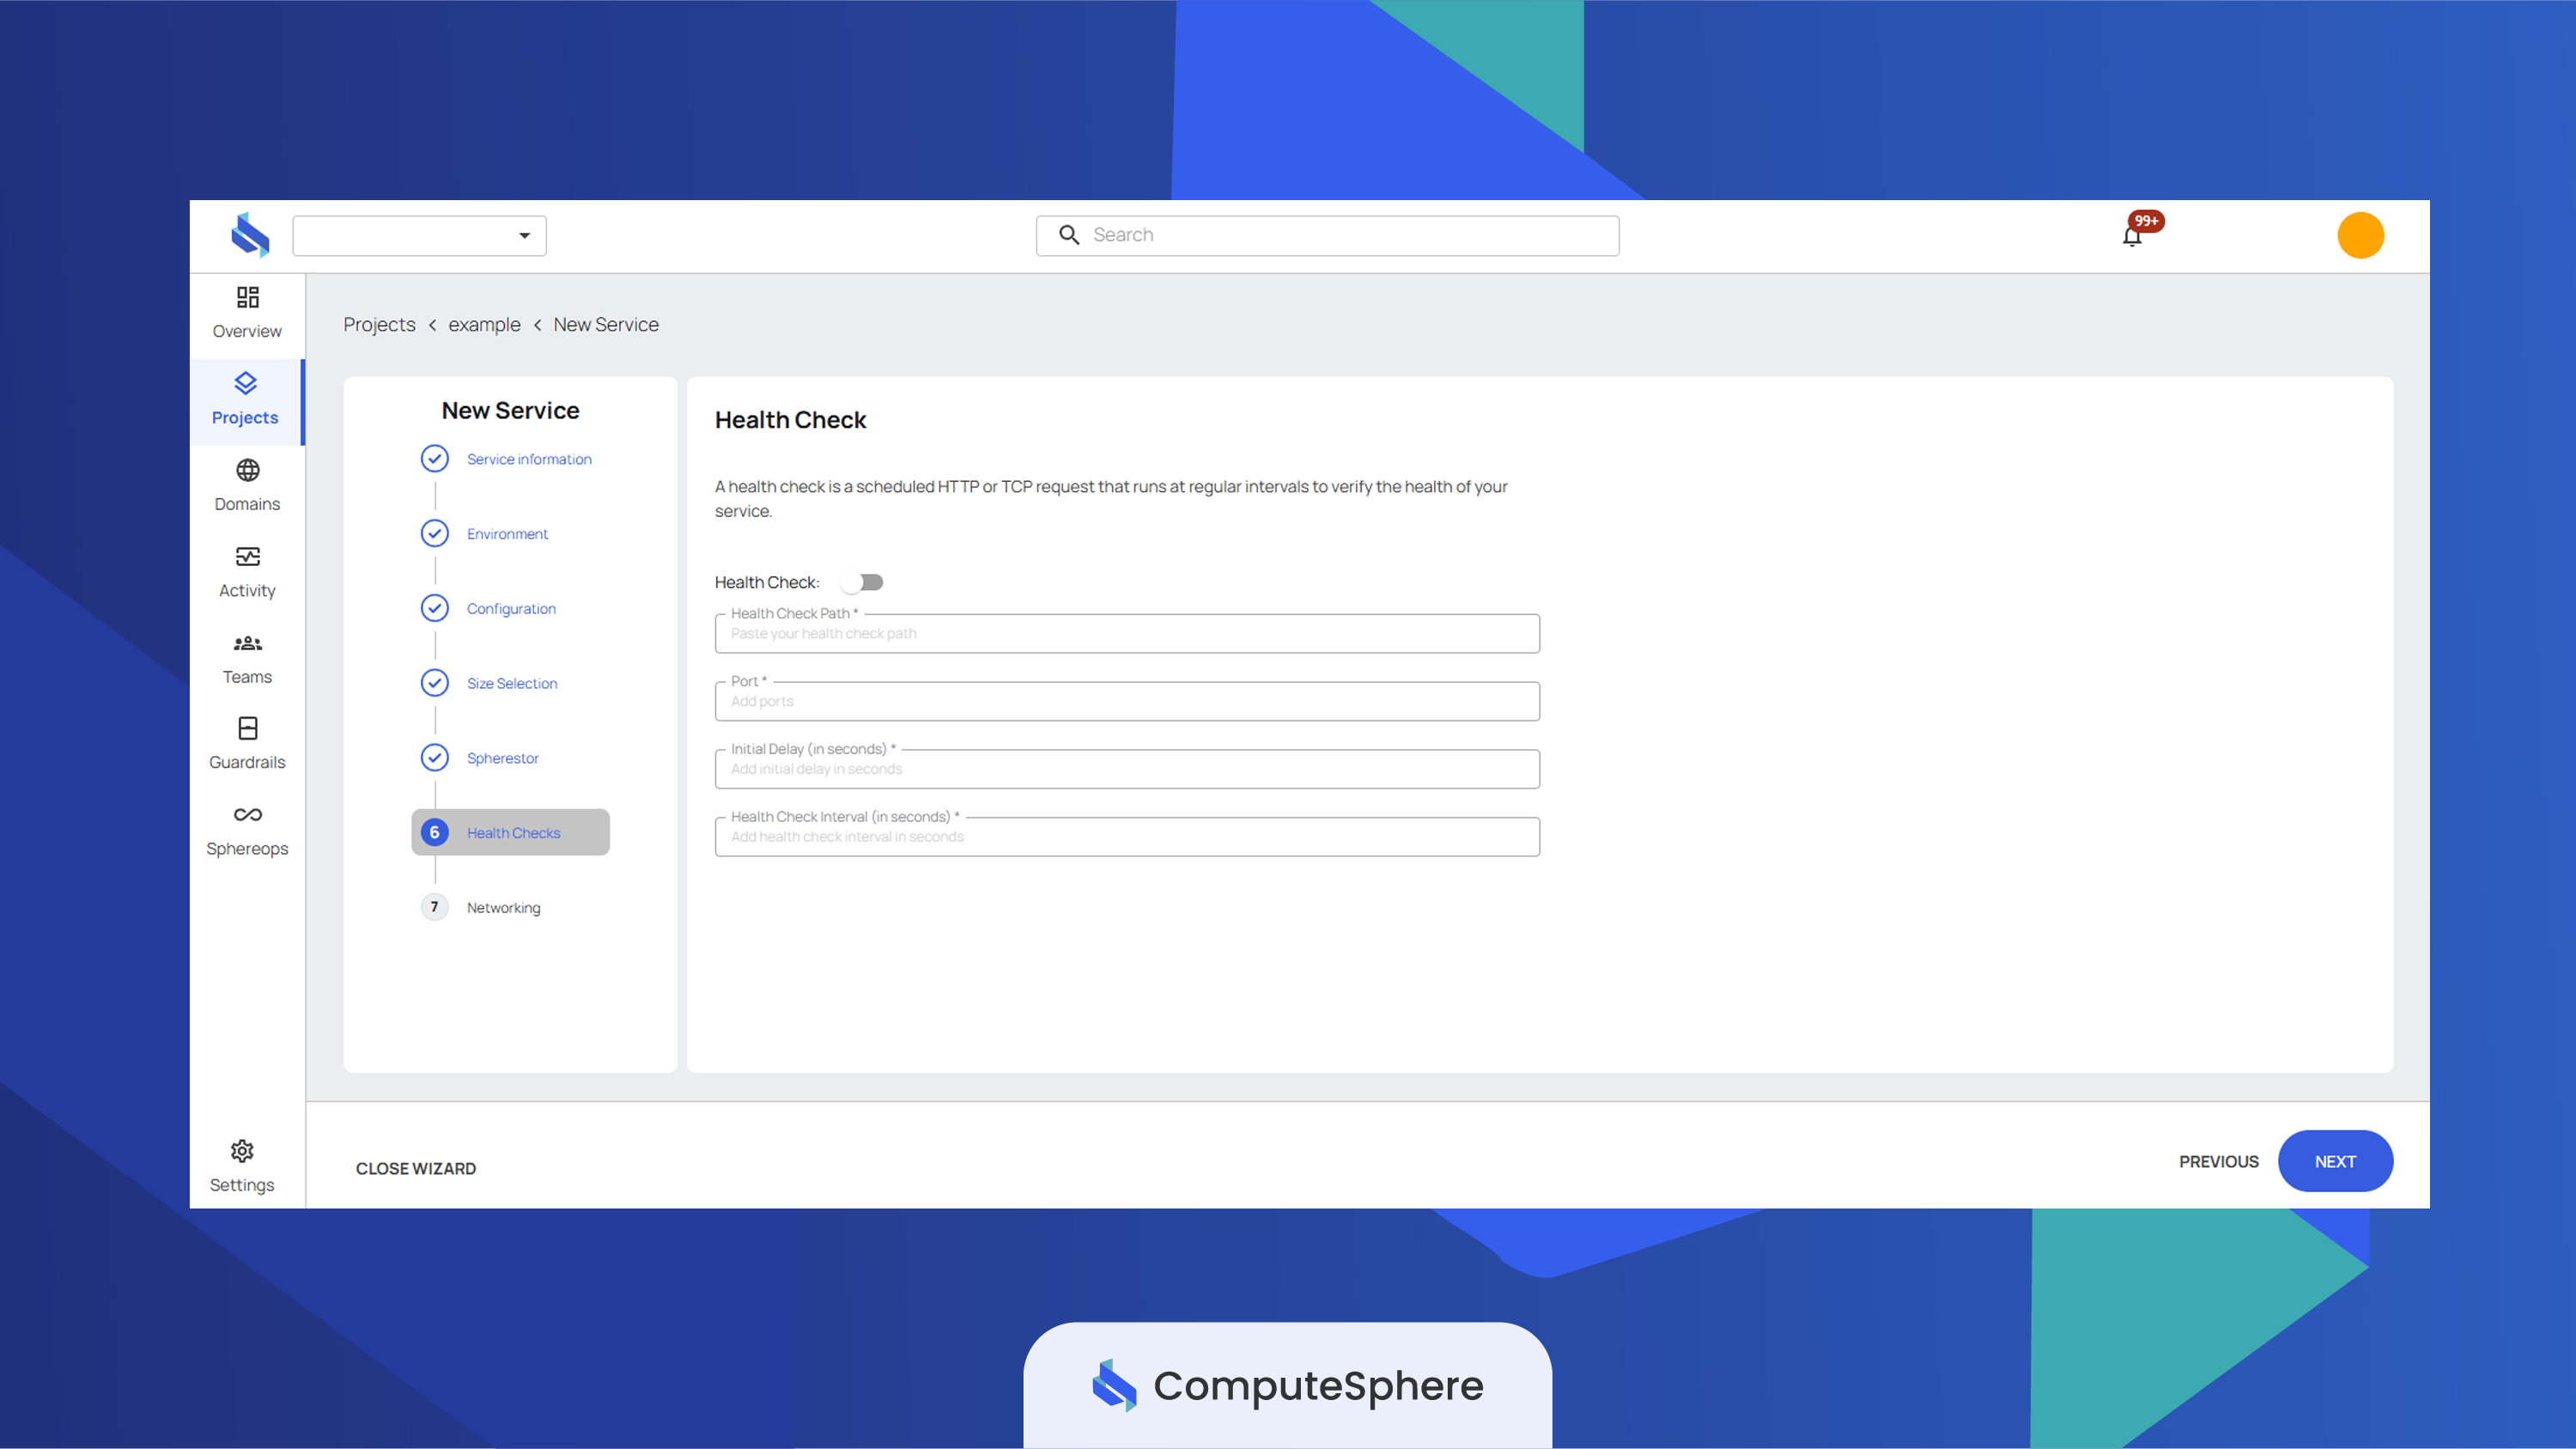
- You can enable health checks by setting the configurations. For this example, we'll keep the default settings.
info
For more information regarding Health Checks, please see here.
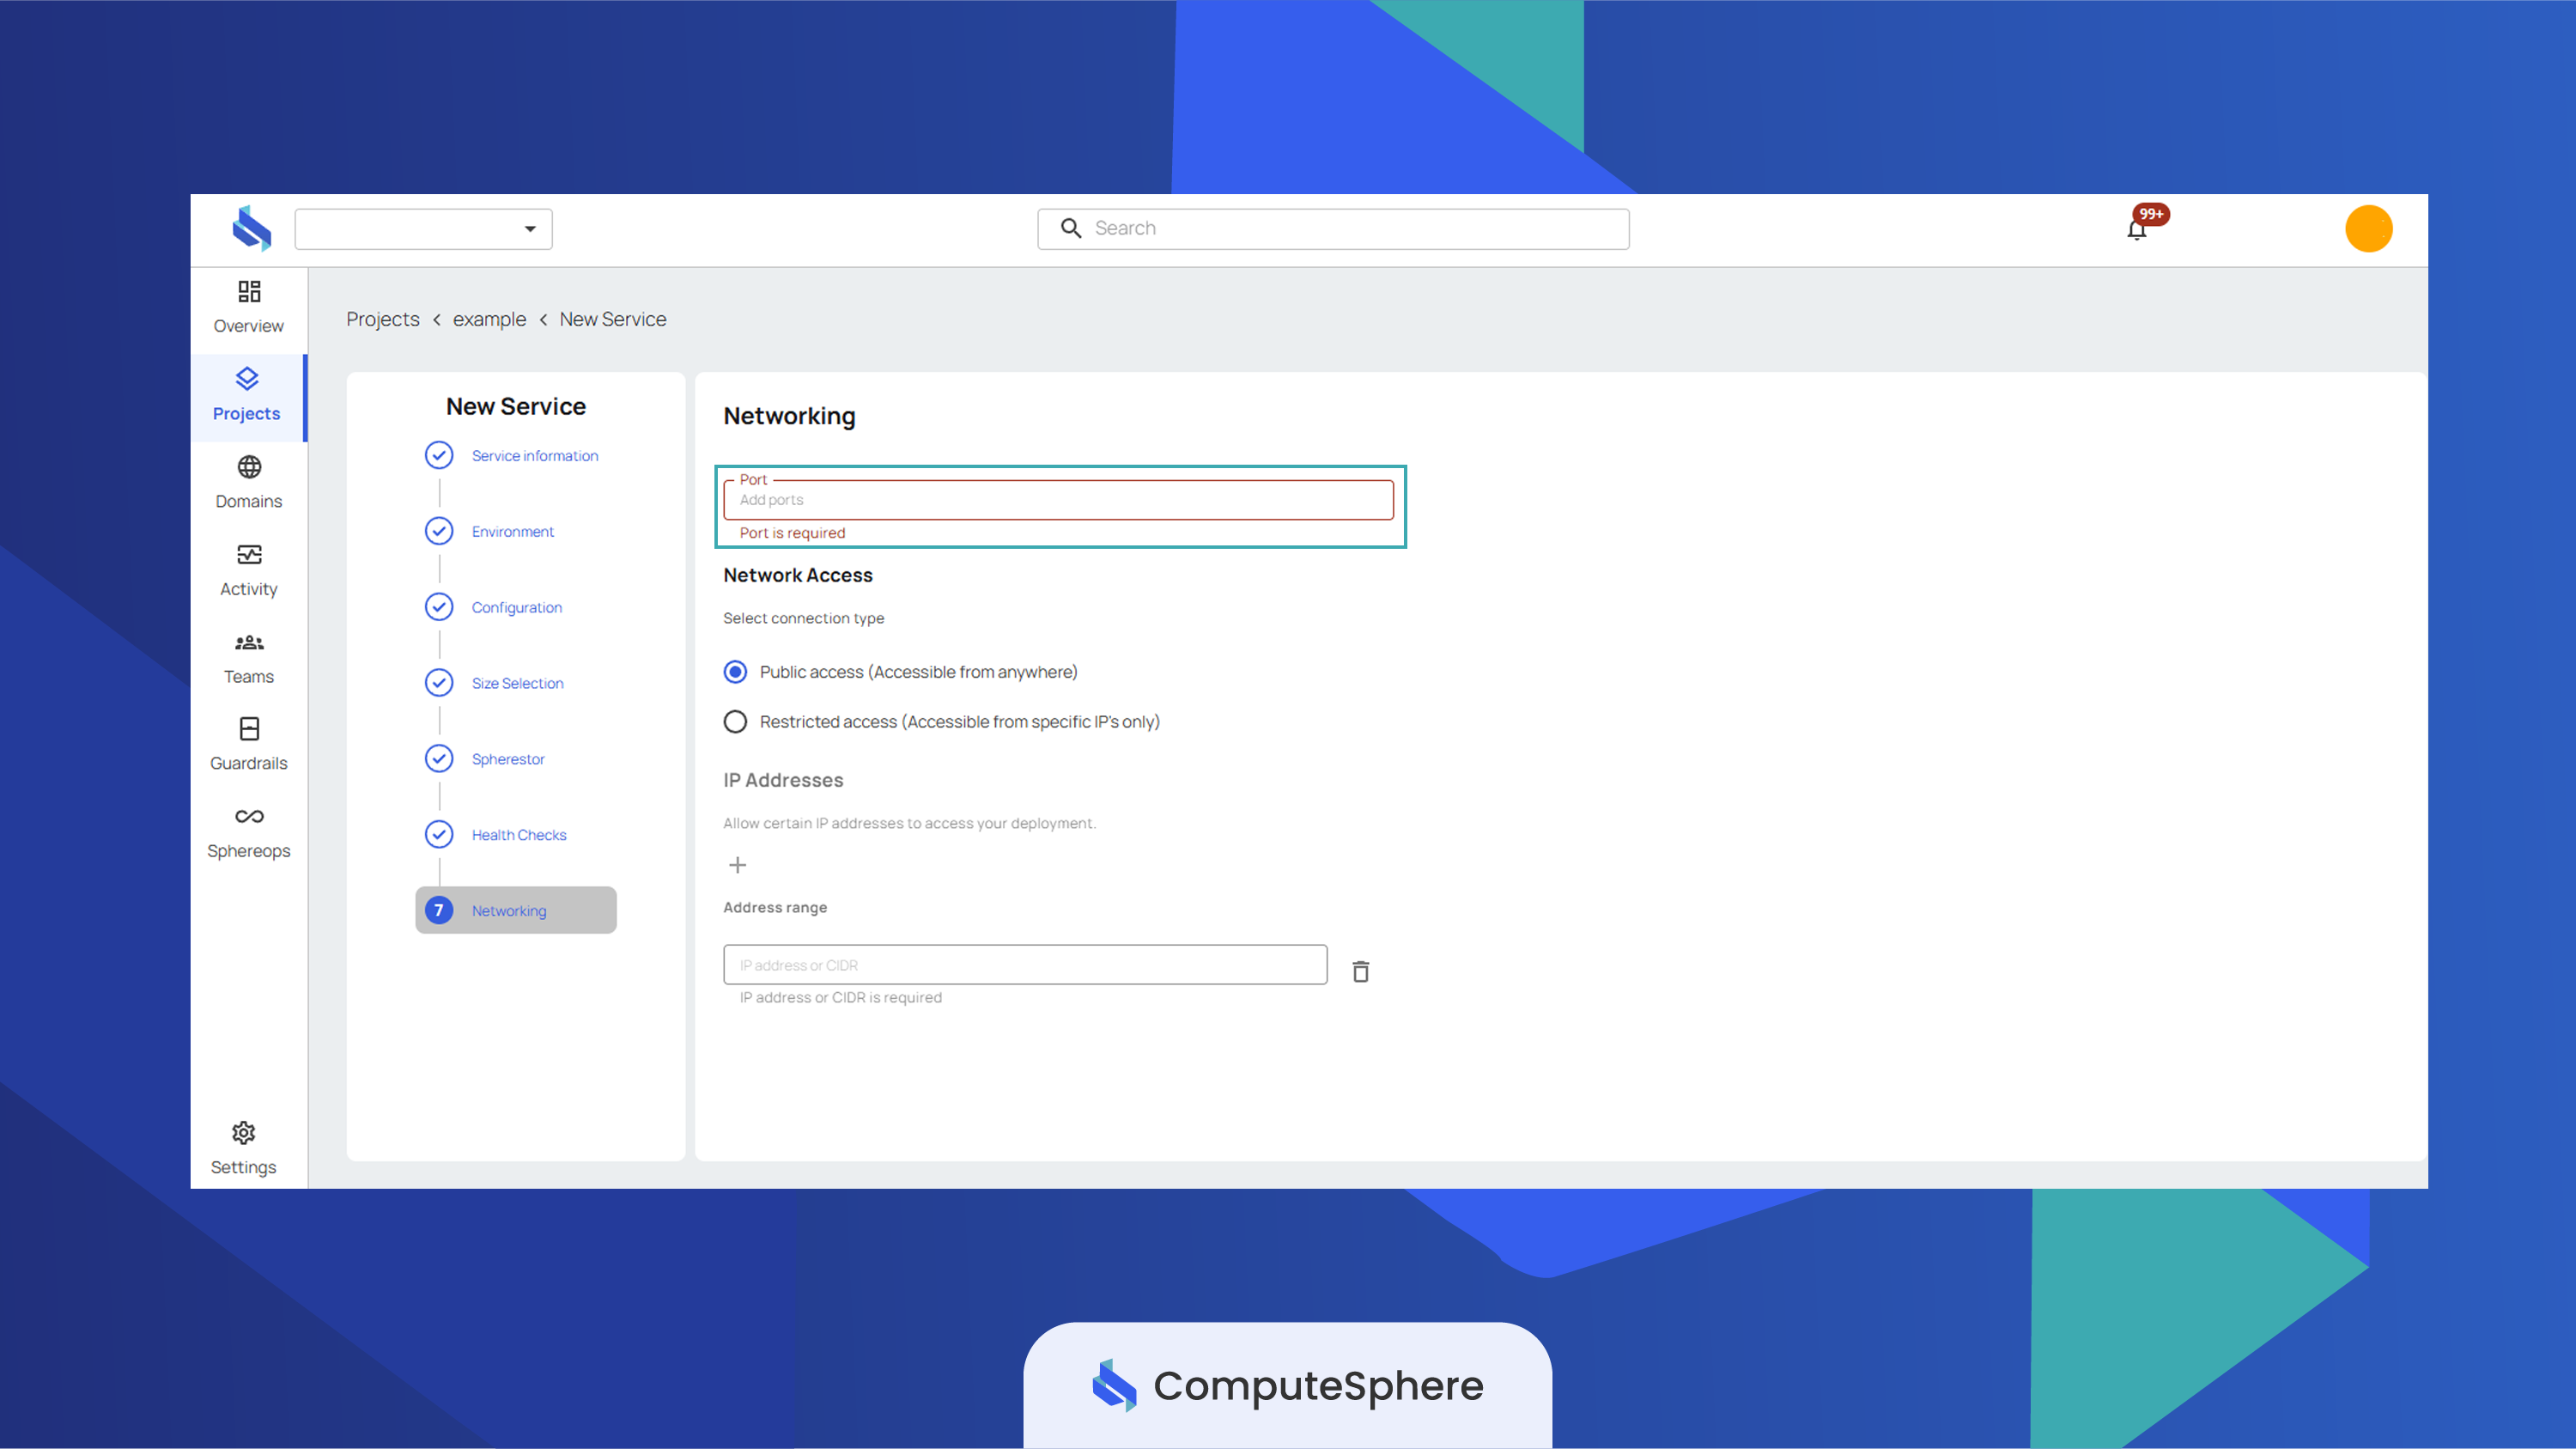
- Specify the port → click Deploy. For this example, we use the 8000 port. Select the Public Access for network access.
info
For more information regarding Networking, please see here.
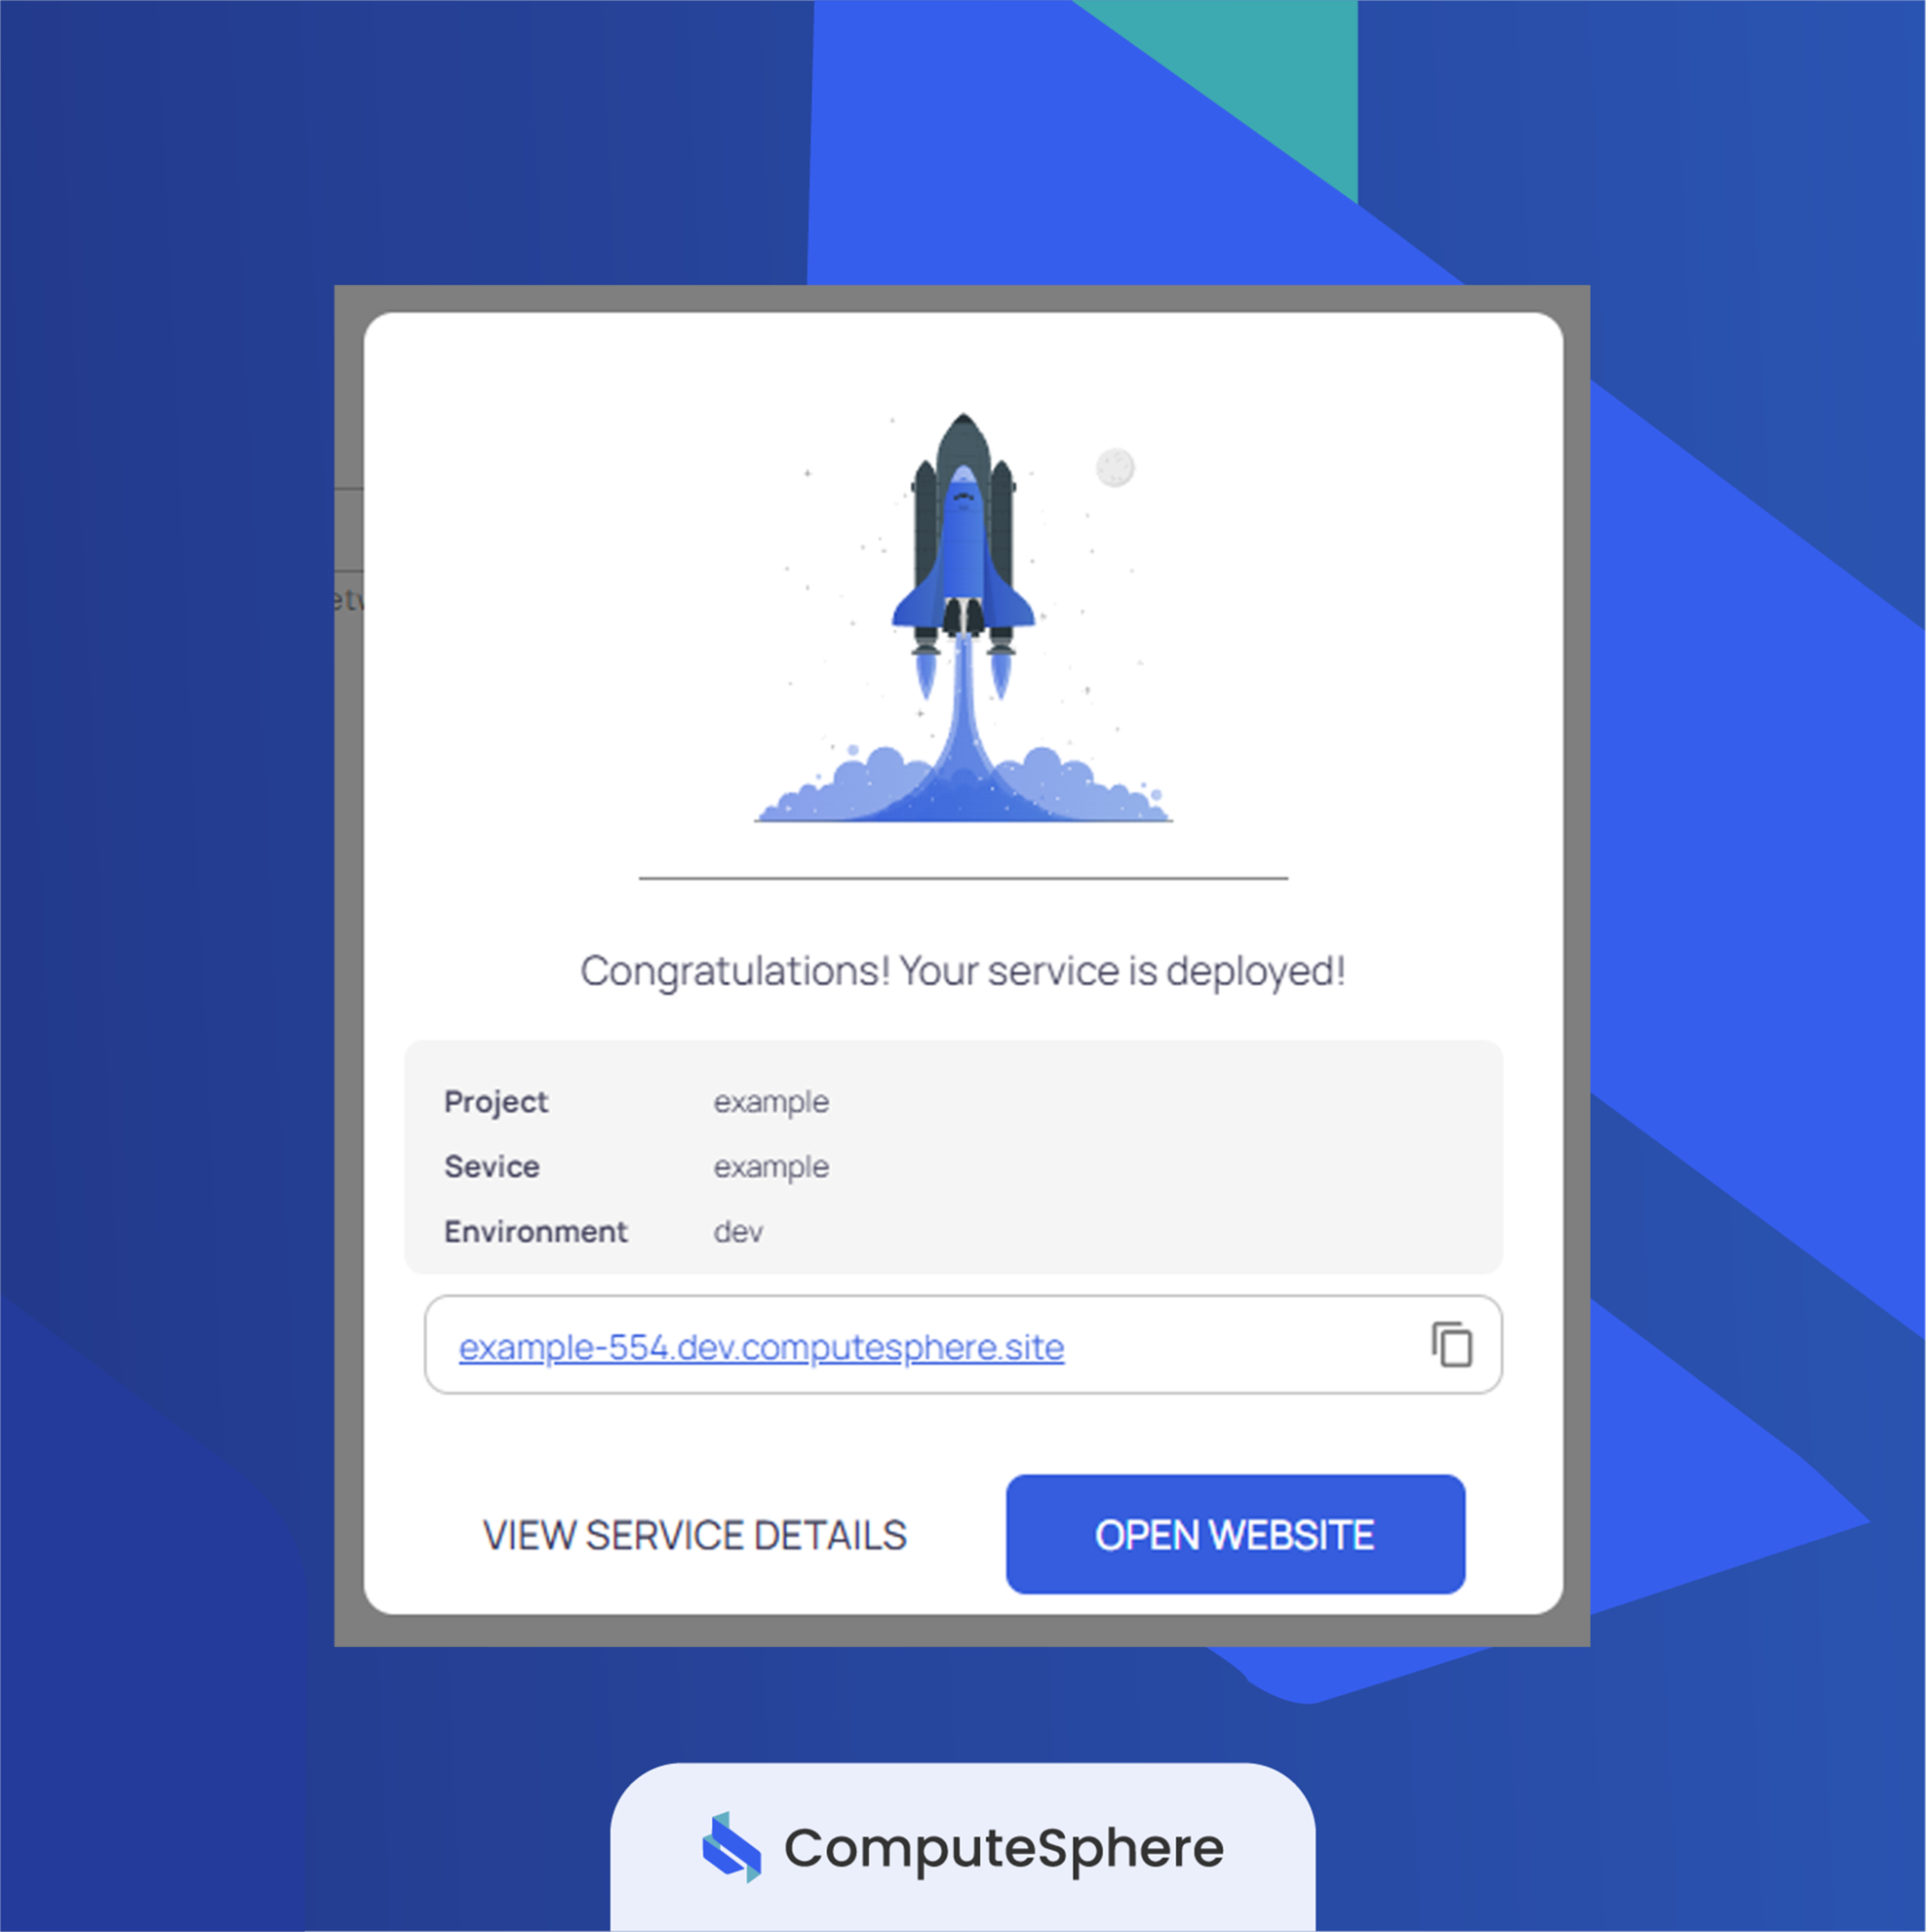
- Wait for the deployment to finish → new screen appears with details about your deployed application. Click Open Website.
- If you see the following page, your deployment was successful.
 That's it. Now, you have successfully deployed your application to ComputeSphere.